 Bloomz
Approve or deny a student's pass request
When a student requests their own hall pass, it lands with you before anything starts — you decide whether it goes ahead, right from the same roster you use to issue passes.
Before you start
Your school must have Hall Pass switched on, with Allow students to request passes and requests-need-approval turned on for your class (see Set hall pass limits and student accommodations). Requests that do not need approval start automatically and never reach this screen.
Step 1 — Open your class roster
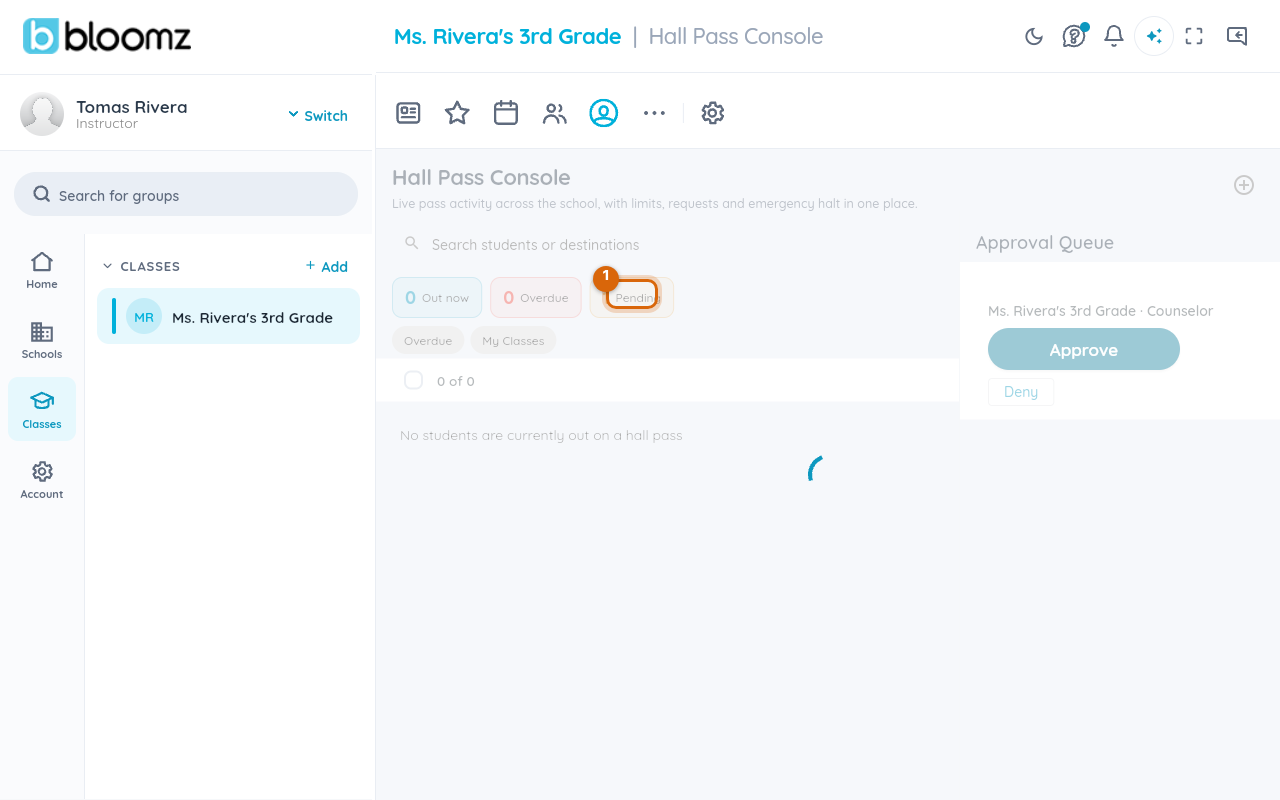
Open your class, select the Behavior tab, then Check-In/Out. A red badge on the Issue pass icon shows how many requests are waiting.
Step 2 — Open the pending request
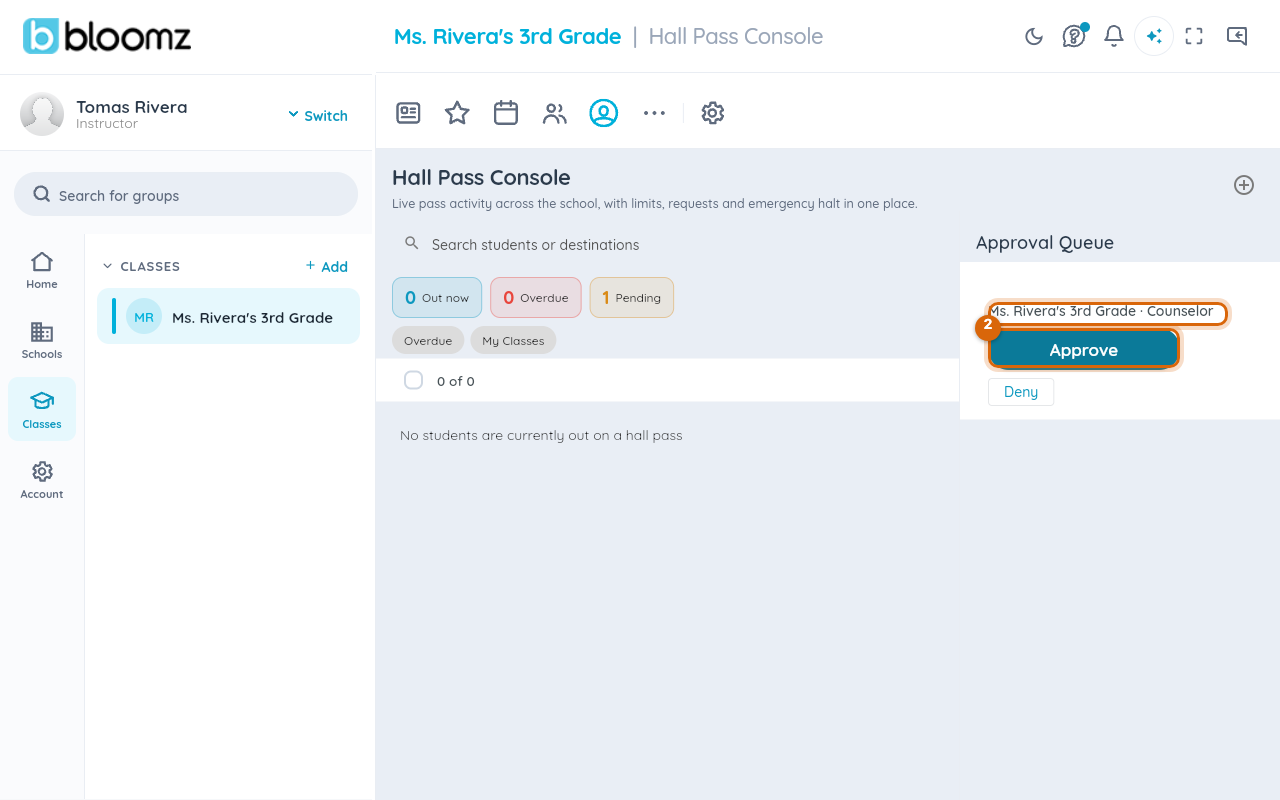
Select the badge, or the student's tile. The Pass Request card shows who asked, the destination, the reason (if given) and when they asked.
Step 3 — Approve or deny
Select Approve to start the pass exactly as if you had issued it, or Deny and give a short reason — the student sees it immediately.
Step 4 — Adjust before approving, if you need to
Before approving, you can change the duration or destination the student asked for; the pass starts with your version, not theirs.
Watch out: an approved request still checks the same school rules as an issued pass — a daily cap or cooldown can block it even after you approve. The card tells you which rule was hit so you can decide whether to override.
Related
- Request a hall pass
- Issue a hall pass
- Confirm arrival and close a pass
- Set hall pass limits and student accommodations