 Bloomz
Change the language Bloomz shows you
Bloomz can show its own menus, buttons and screens in your language. This setting changes only what Bloomz itself says — for the posts and messages other people write, see Get posts and messages translated into your language; the two settings are independent and one does not switch on the other.
Before you start
Anyone can do this — parents, students, teachers and staff, on every plan. It takes about a minute and only affects your own account.
Step 1 — Open Account
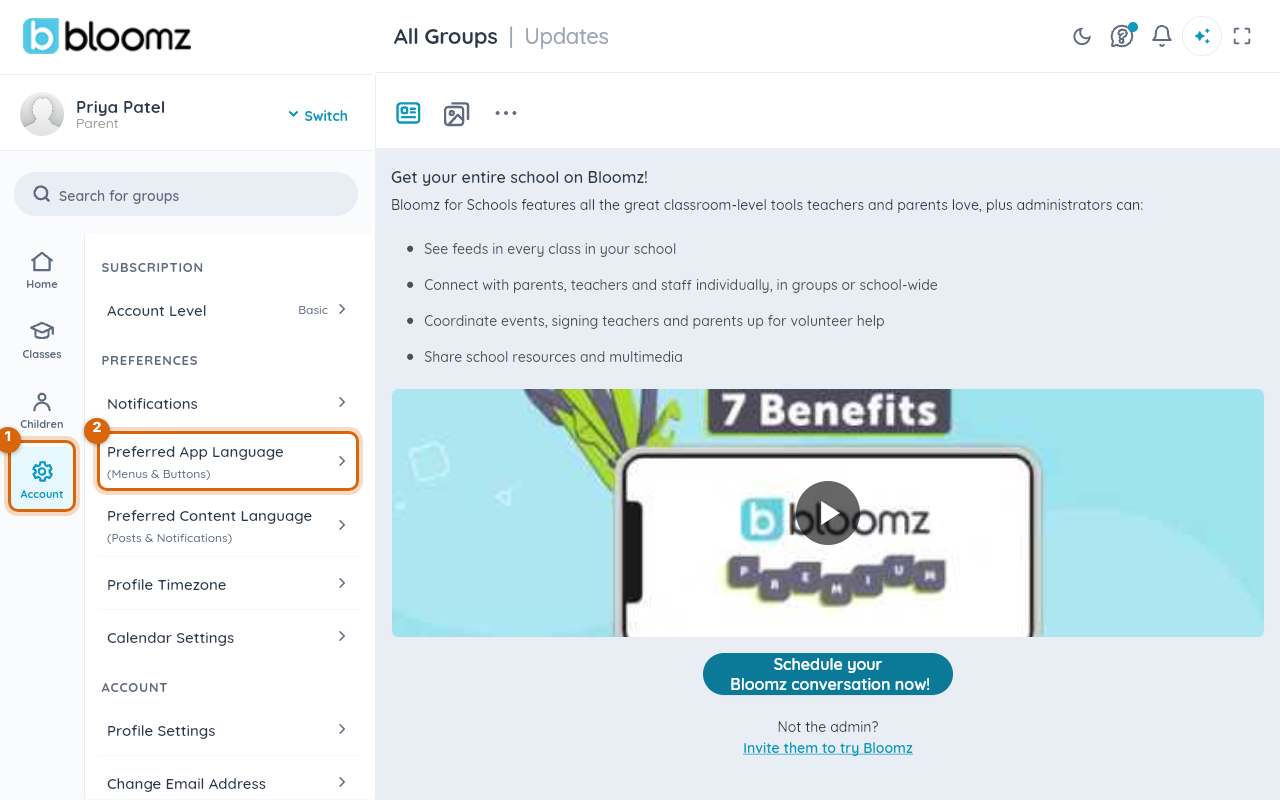
In the left rail, select Account. The settings panel opens beside the rail.
Step 2 — Choose Preferred App Language
Under Preferences, select Preferred App Language — the row that says (Menus & Buttons) beneath it. The language list opens.
Step 3 — Search for your language
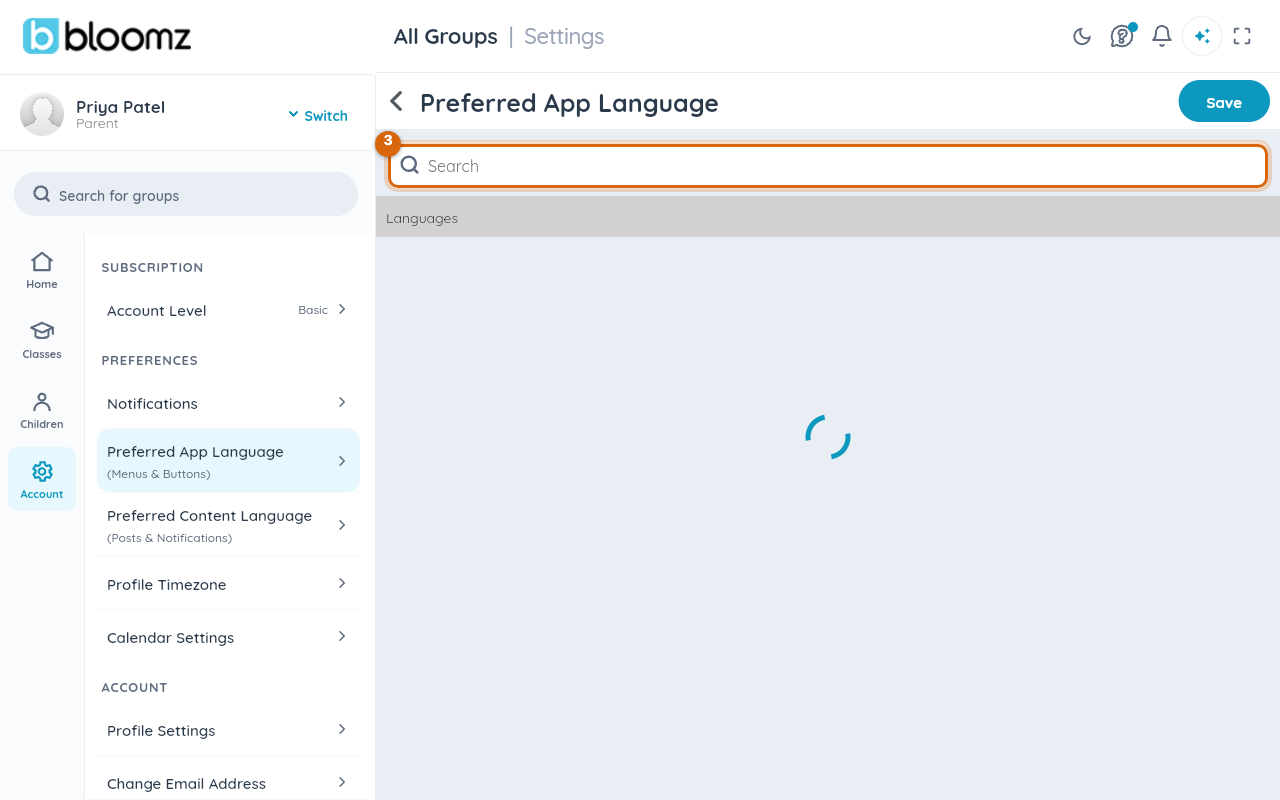
Select the Search field at the top and type the first few letters of your language. The list narrows as you type; each entry shows the language in English and in its own script, so you can recognise it either way.
Step 4 — Select it
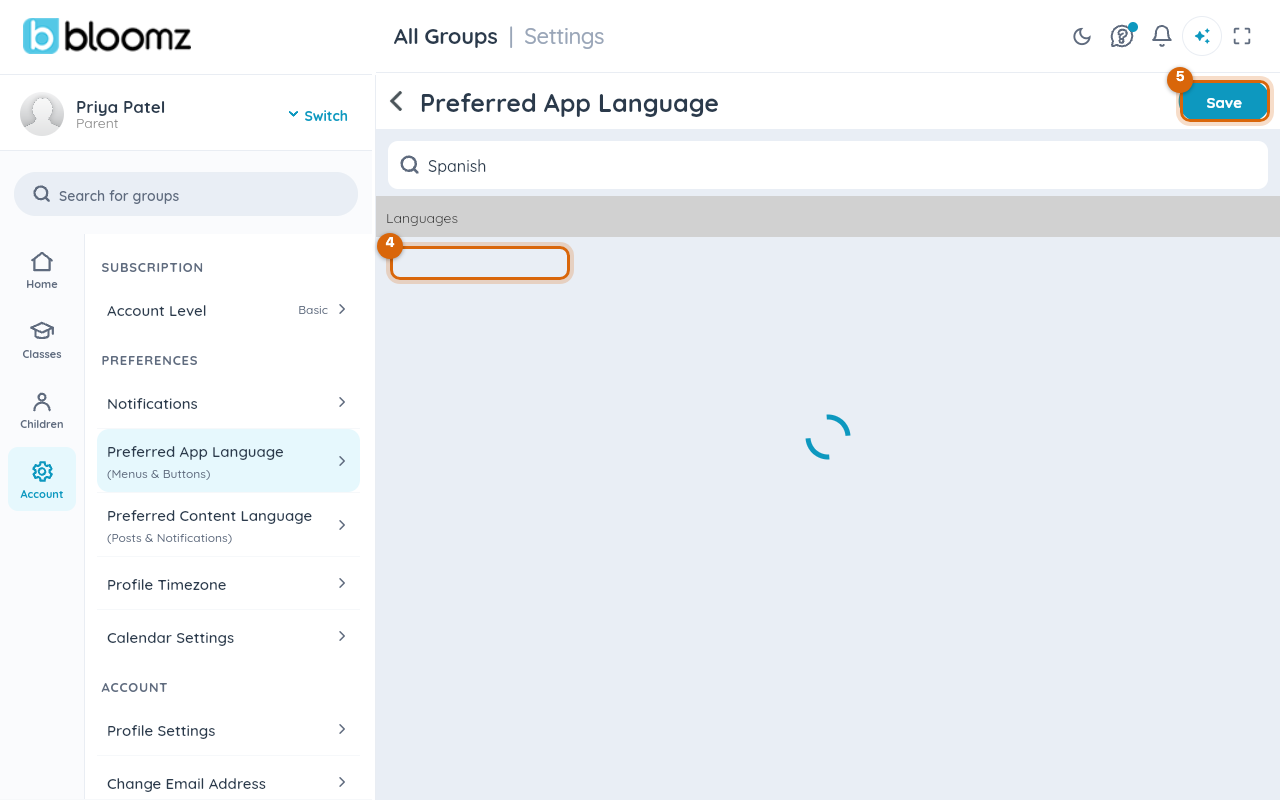
Select your language. Its circle fills in, and a Save button appears in the top corner — nothing has changed yet.
Step 5 — Save
Select Save. Bloomz redraws in the language you chose, starting with this very screen.
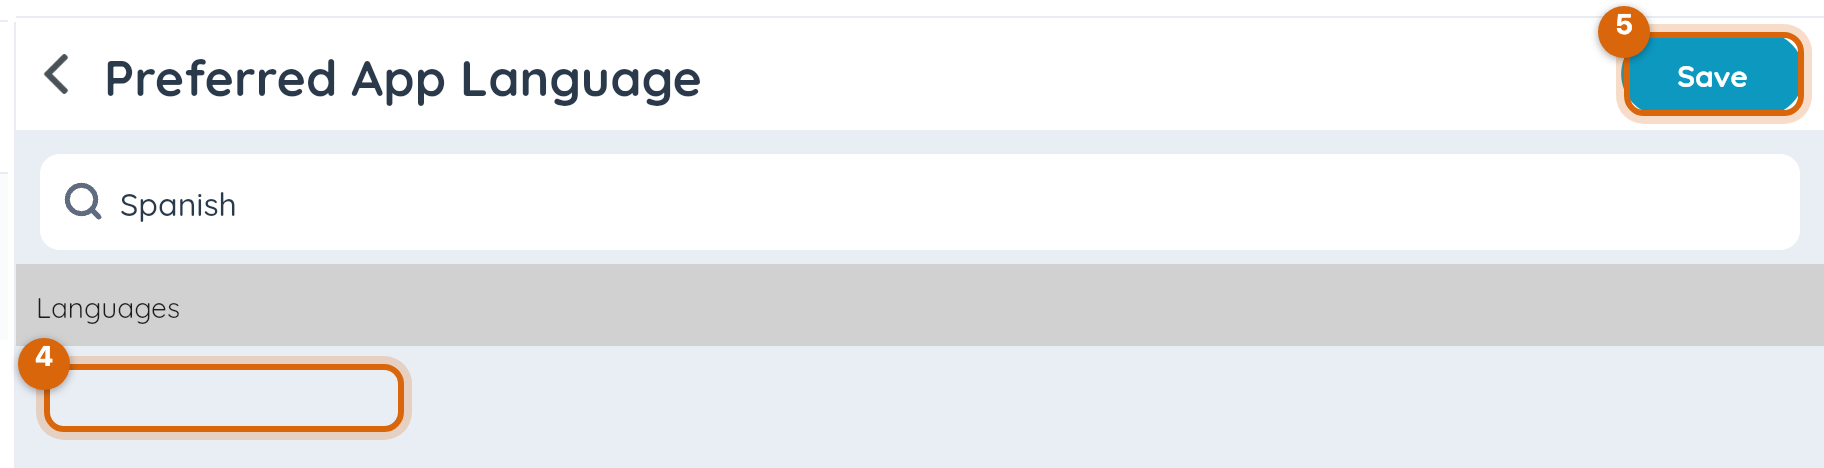
Watch out: leaving the screen without Save keeps your old language — the change looks ignored, but it was never applied. If the list is back in English, go through Step 4 and Step 5 again.
What changes, and what doesn't
Labels, buttons, menus and Bloomz's own screens switch language. Posts, messages, announcements and the notifications about them stay in whatever language they were written in until you also set Preferred Content Language. Attached files, photos of flyers and links to other sites are never translated by either setting.
Related
- Get posts and messages translated into your language
- Choose which notifications you receive
- Change your email address