 Bloomz
Attach a payment to an event
An event with a cost — a field trip, a dance — can carry its own fee, collected from the families you invite.
Before you start
- Payments must be turned on for your school.
- The payment is attached from the event composer's Payment row, before you save the event.
Step 1 — Start creating the event
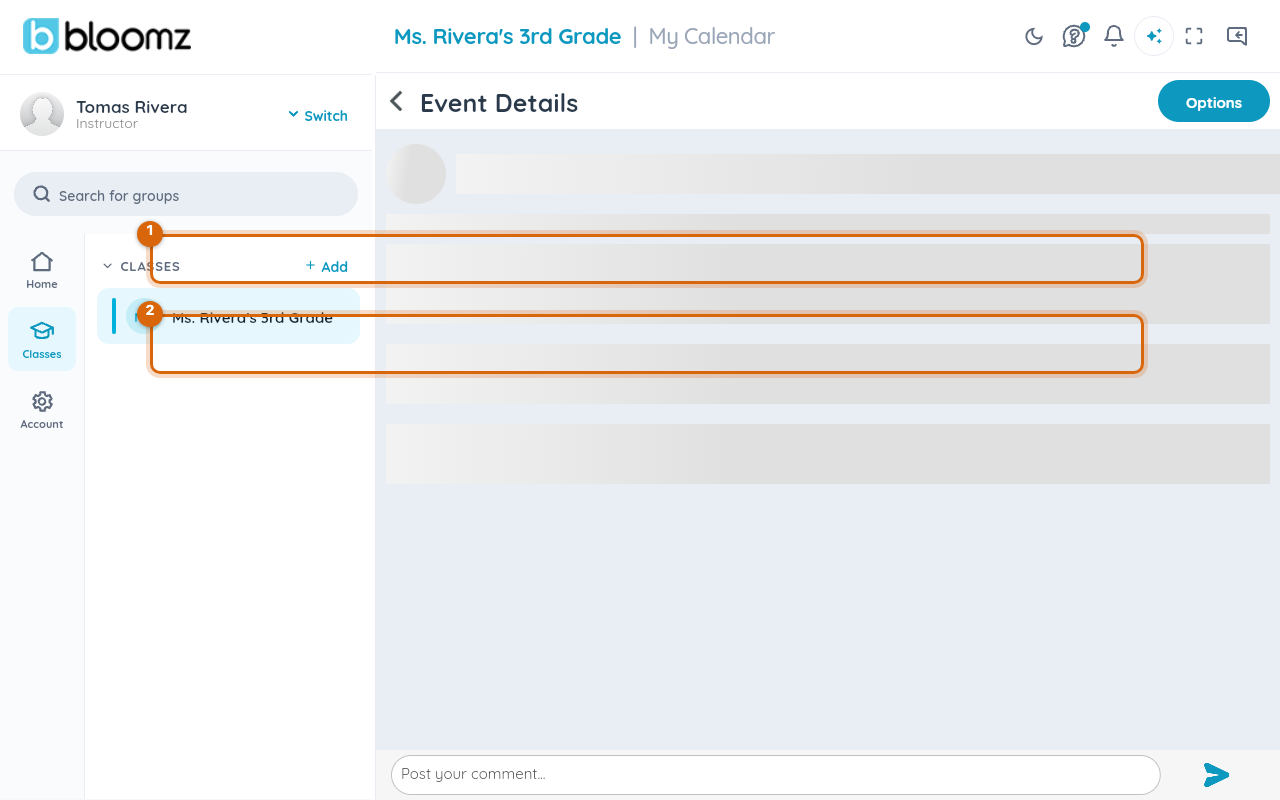
Open the event composer and fill in the usual details — title, date, location.
Step 2 — Choose Add payment
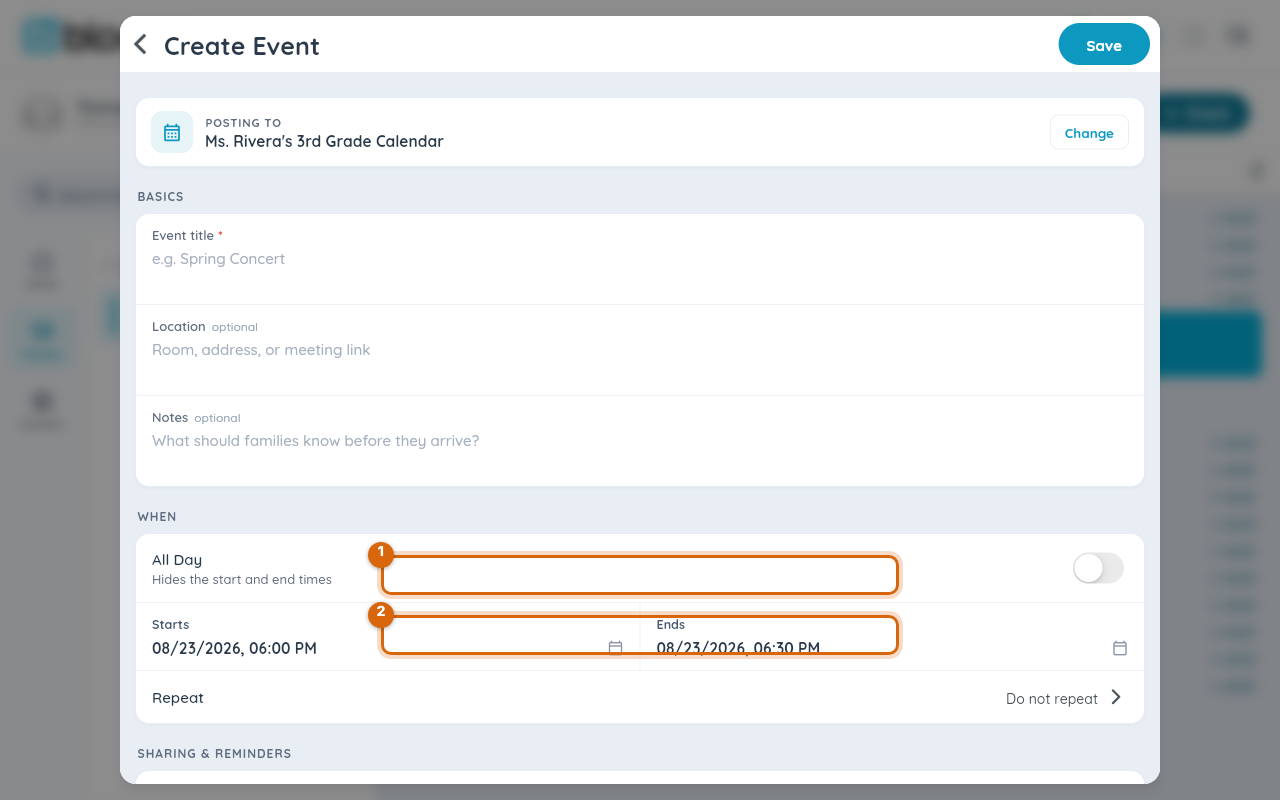
Open the Payment row, choose Add payment, and set a title and per-student amount, the same as a post.
Step 3 — Who pays
Every family invited to the event is billed for each of their students when the event publishes — RSVP status doesn't change who is billed. To charge only some families, invite only those families, or skip the attachment and create a payment request directly with just those students picked.
Step 4 — Create the event
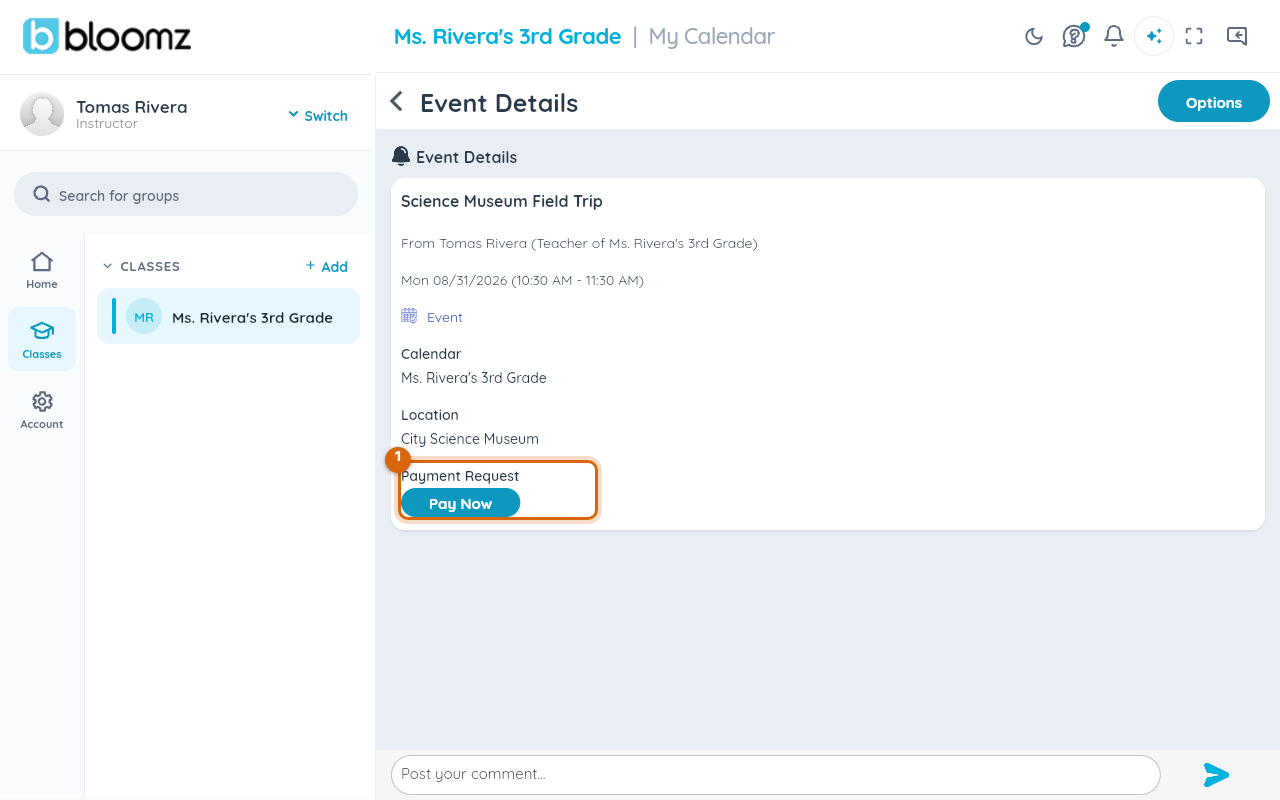
Create the event. Its detail screen shows a Payment Request section with Pay Now for the families who owe it.
Watch out: deleting an event with an active payment does not refund families who already paid. Bloomz tells you how many families have paid before you confirm Cancel Event & Payment — plan any refunds yourself.
Step 5 — Track who's paid
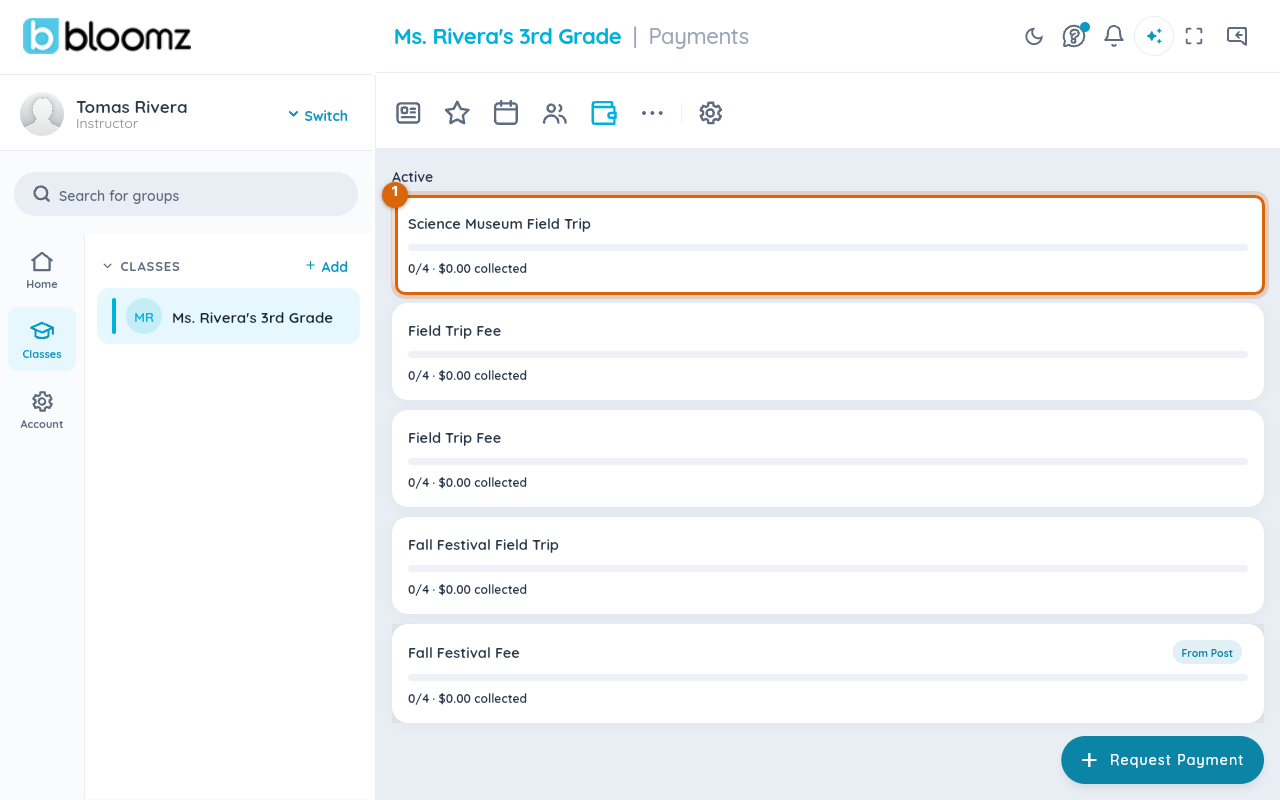
The request shows up in your class Payments panel under the event's name, with a running paid count, and opening it lets you nudge the families still owing with Remind unpaid.
Related
- Attach a payment to a post
- Create an event
- RSVP to an event
- Collect payments from families