 Bloomz
Reorder photos in an album
Drag photos into a new order inside an album — put the best shot first, or line up a sequence the way it actually happened — without deleting and re-uploading anything.
Before you start
You need an album that already has more than one photo in it, and permission to post to that class. Reordering changes the order everyone sees; it doesn't remove or hide any photo.
Step 1 — Open the album
Open your class, select the album from the Album tab (under the More menu's MEDIA section), and open the one you want to reorder.
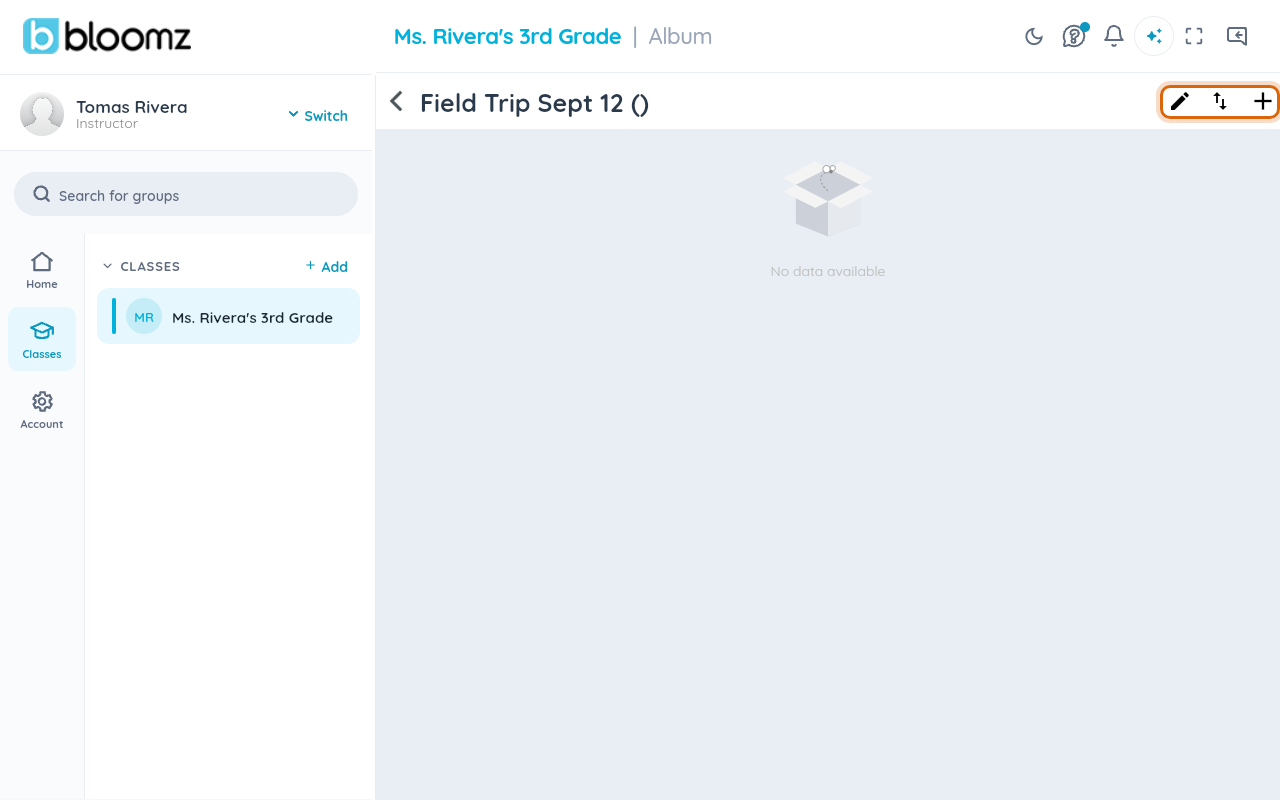
Step 2 — Turn on reorder mode
Select the reorder icon (⇅) in the album's toolbar. The album switches into reorder mode: a "Drag photos into the order you want" hint appears with a Save link.
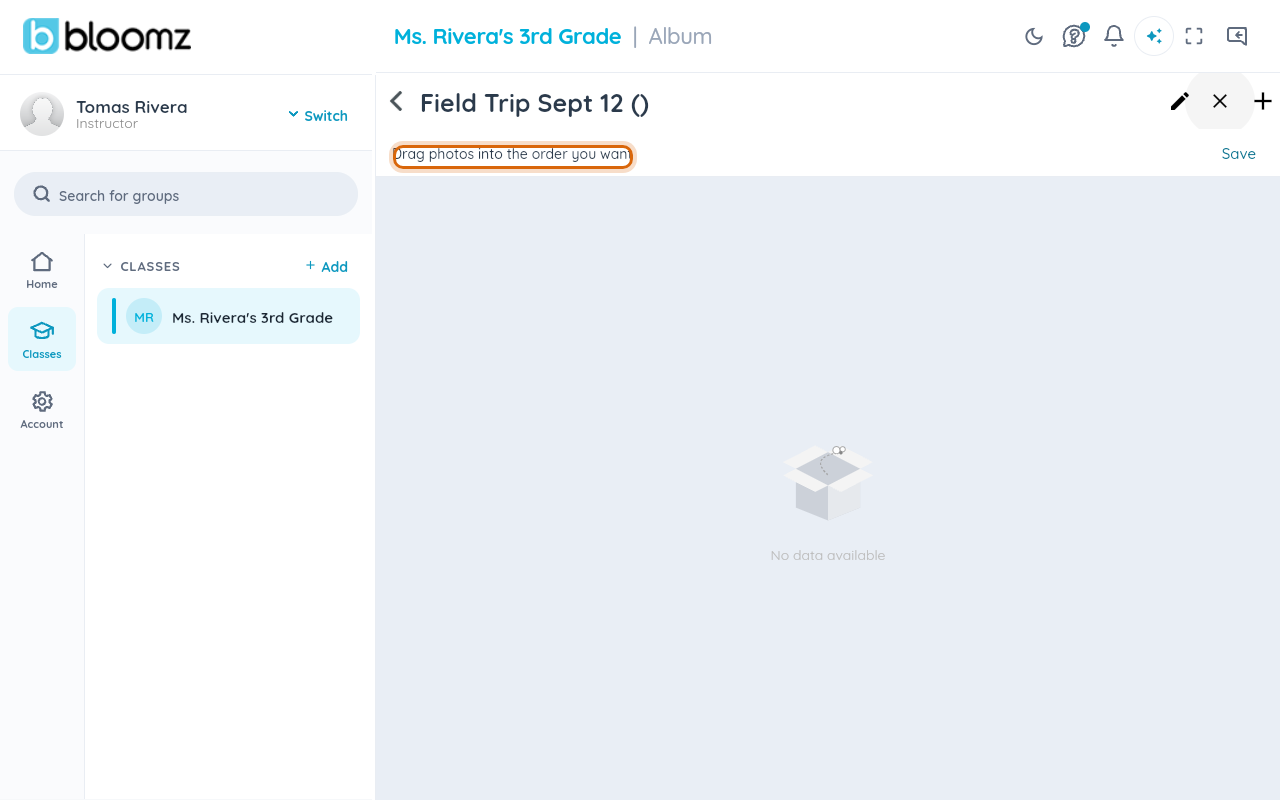
Step 3 — Drag a photo to its new position
Press and hold a photo thumbnail, then drag it to where you want it in the sequence. The other photos shift to make room as you drag; release to drop it in place. Repeat for any other photos you want to move.
Step 4 — Save the new order
Select Save. The album closes reorder mode and shows your new sequence.

Watch out: if you leave the album without selecting Save, your reordering is not kept — go back in and redo it if that happens.
What families see
The album opens in your new order for everyone — on the app and on the web. Nothing about the photos themselves (captions, upload date) changes; only the sequence does.
Related
- Upload photos to an album
- Set and reposition your class cover photo
- Download photos and files