 Bloomz
Set and reposition your class cover photo
Give your class feed a banner that actually looks like your class — pick a cover photo from your device or from an album you've already shared.
Before you start
Teachers and school staff can set the cover photo for a class they belong to. Bloomz recommends a photo close to 1560 × 600 px — a wide, landscape-oriented shot fits the banner best.
Step 1 — Open the cover photo menu
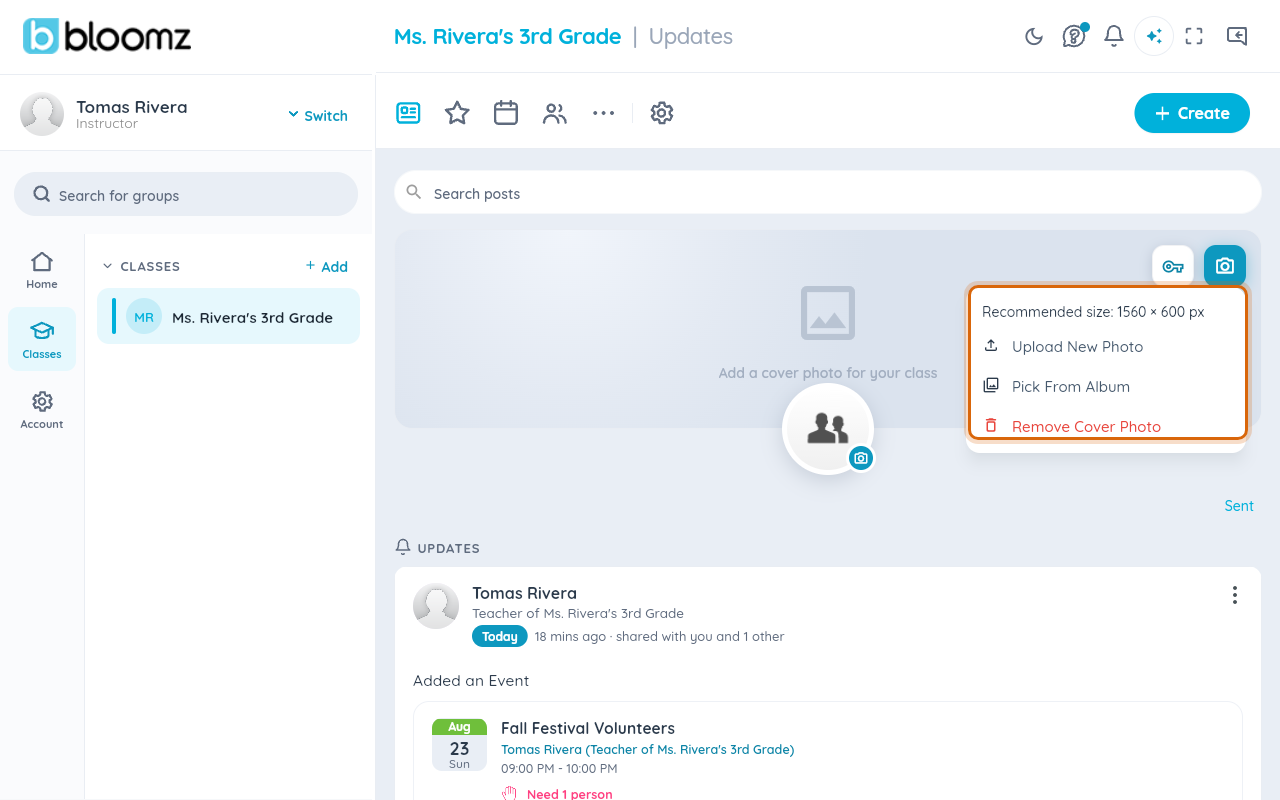
Open your class and select the camera icon on the cover banner at the top of the feed. A menu opens with the recommended size and your photo-source options.
Step 2 — Choose a source
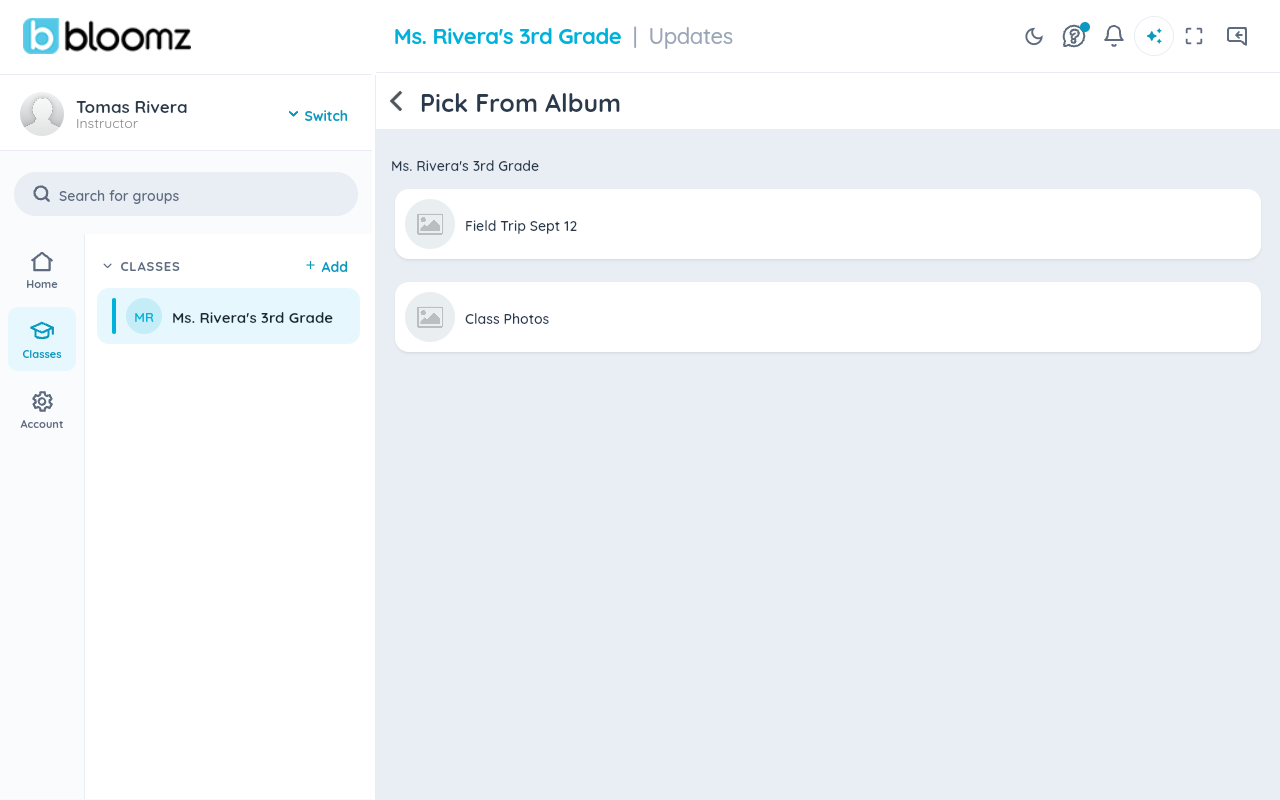
Select Upload New Photo to pick a file from your device, or Pick From Album to reuse a photo already shared with the class.
Step 3 — Adjust and apply the crop
For a photo you upload, the Adjust Cover Photo screen opens next — pinch or drag to pan and zoom the photo inside the banner-shaped frame, then select Apply. Select Cancel to back out without saving.

Watch out: a photo picked from an existing album is applied as-is, without this crop step — if part of it gets cut off oddly, re-upload it as a new photo instead so you can adjust the crop.
What families see
Everyone on the class sees the new cover photo at the top of the feed, on the app and on the web.
Related
- Upload photos to an album
- Reorder photos in an album
- Post an announcement that stays at the top