 Bloomz
Share an update with your class
A post is how you share news with a whole class at once — the classroom equivalent of a note home, except everyone gets it in their own language and you can see who has read it.
Before you start
You can post to any class or group you belong to. If you teach more than one, you choose which one at step 3, and you can pick several at once.
Step 1 — Open Create
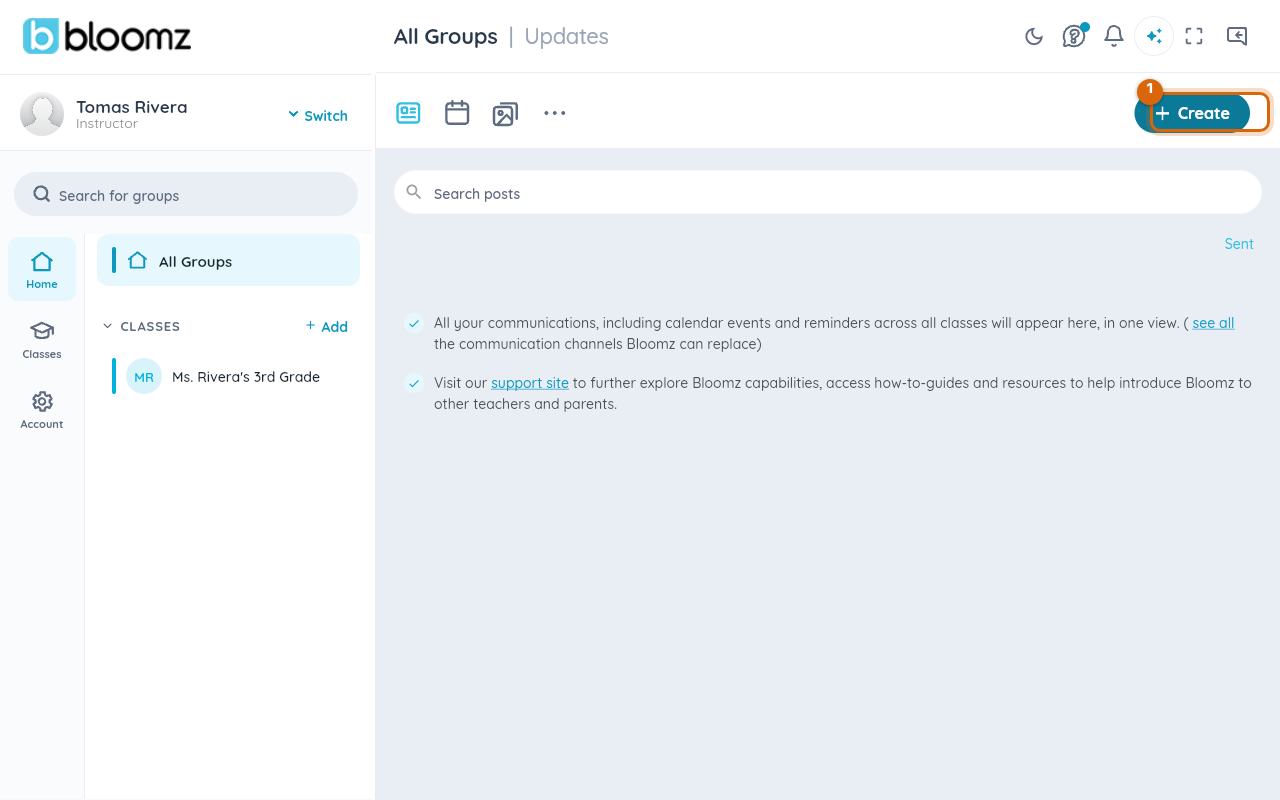
From Home, select Create in the top right. Home shows every class you belong to in one feed, so it does not matter which class you were looking at.
Step 2 — Choose Post
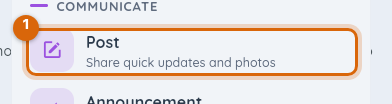
The Create menu groups everything you can make. Post is the first option under Communicate.
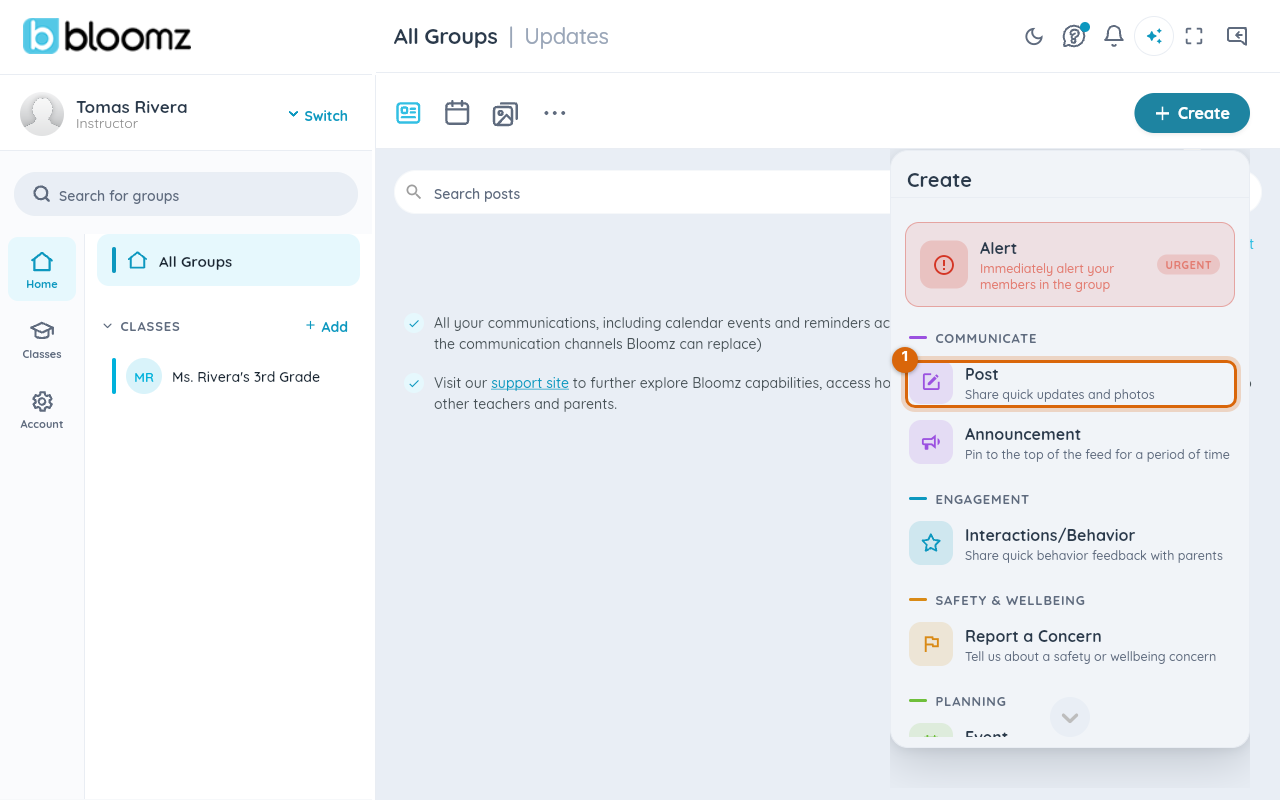
Use Announcement instead when the message needs to stay pinned to the top of the feed for a while. Everything else in this menu — events, sign-ups, messages — is covered in its own article.
Step 3 — Choose who receives it
Select the class you want. Two things on this screen are easy to miss:
- The class row itself — tap anywhere on it to select it. You can select more than one class, and the post is delivered to each.
- The roles selector underneath it. This is who within the class receives the post — parents, students, co-teachers and so on. It defaults to everyone, and the count shown ("5 Roles") is the number currently selected, not a limit.
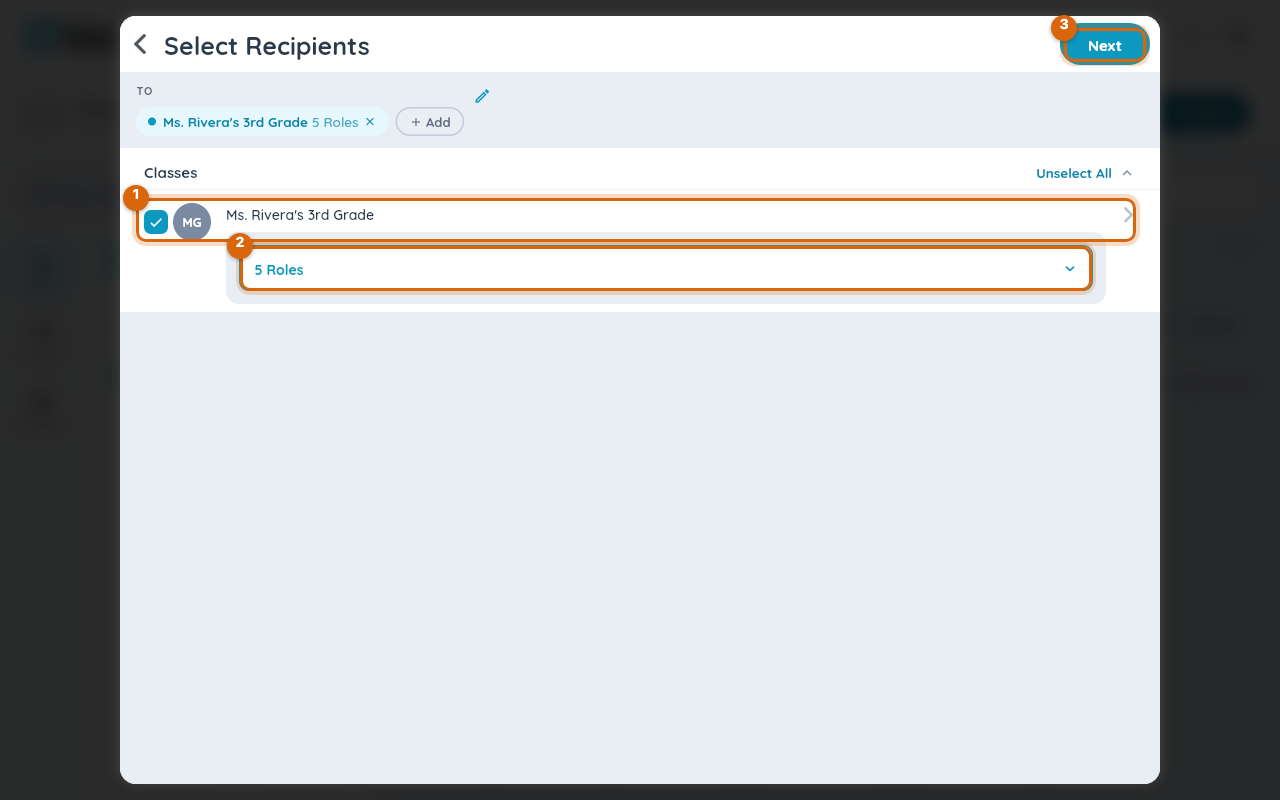

Then choose Next.
Watch out: narrowing the roles is the most common cause of "my post did not reach the parents". If a family says they never saw a post, check the roles you sent it to before anything else.
Step 4 — Write it
Give the post a title and a message. The title is what families see as the heading in their feed and in the notification, so it is worth writing as a sentence someone can act on — "Field trip forms due Friday" rather than "Field trip".
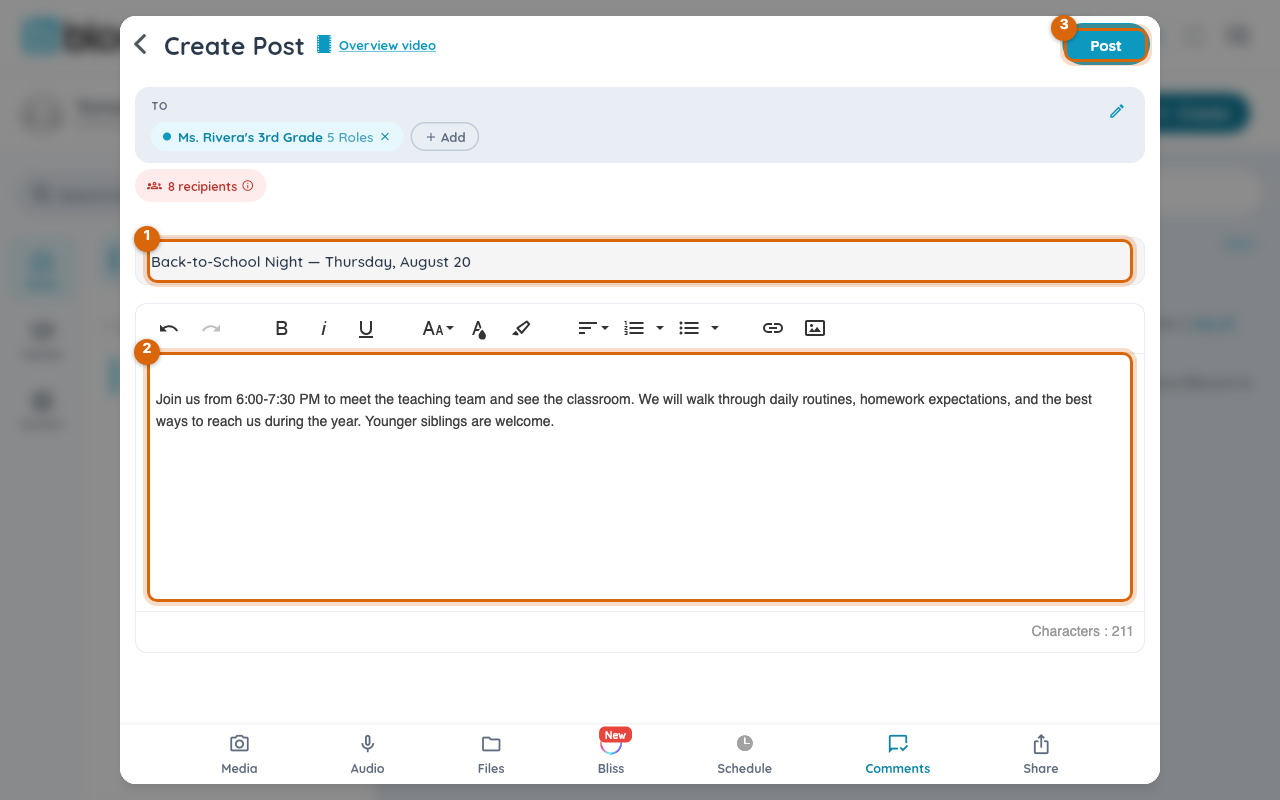

The row along the bottom adds photos, files, audio and more. Schedule sends the post at a time you choose instead of immediately — and a scheduled post can also be sent again on extra dates you pick, which is the right tool for a reminder that needs to go out more than once (see Schedule a post to repeat).
Step 5 — Send it
Choose Post in the top right. That is the whole step — there is no extra menu and no confirmation dialog. A "Post Created Successfully" message appears, and Bloomz takes you to the new post.
Watch out: because one click sends, sending is the moment that matters. You can recall a post afterwards (see Recall a post you sent), but the notification has already gone out and families may have read it in their email before the recall lands. If you are not ready, use Schedule instead, or leave with the back arrow and keep working — the composer keeps what you have written.
The post then appears in the class feed.
What families see
Parents receive the post in their app and, depending on their own notification settings, by email or push as well. They read it in their preferred language without doing anything — see Set your language for the setting that controls this. You can see who has opened it from the post's read receipts.
Related
- Schedule a post for later
- Post an announcement that stays at the top
- Send a message to one family instead of the whole class