 Bloomz
Create a poll
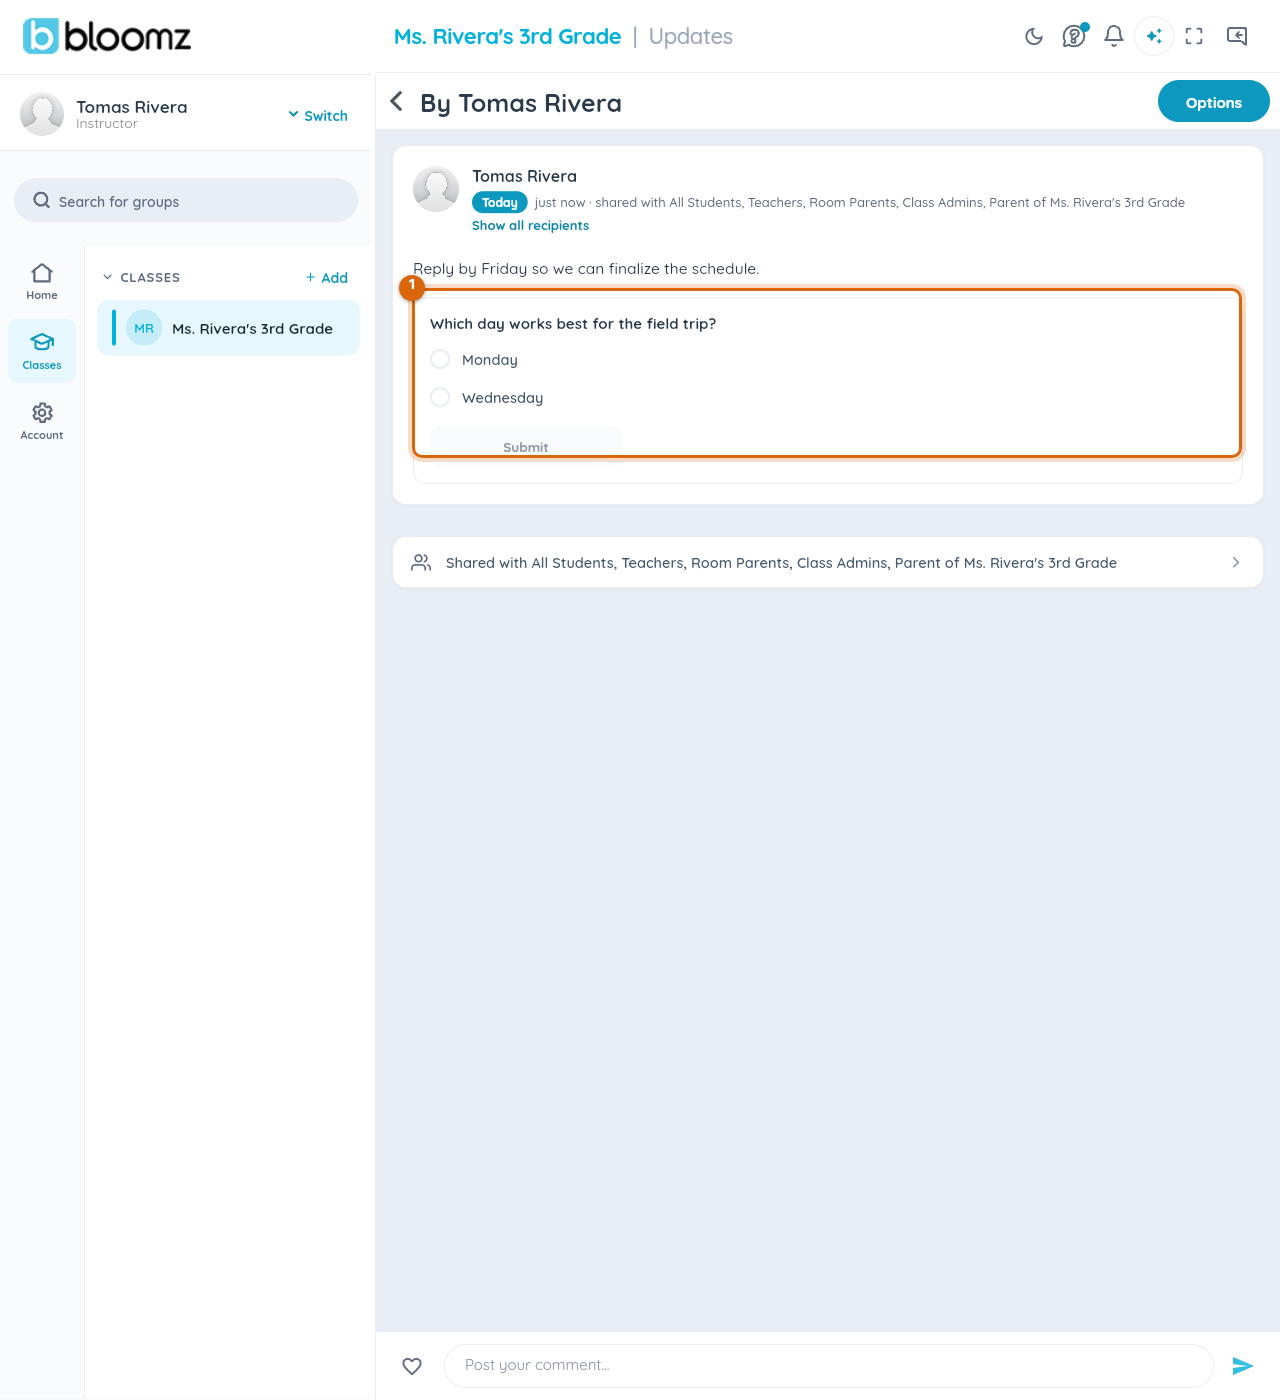
Need a quick read on the room — "Which day works for the field trip?" A poll asks a question with a fixed set of options; recipients tap one to vote, and everyone can watch the results come in.
Before you start
Poll needs to be turned on for your class or school first — an admin (or you, on your own class) switches it on under Settings > Features > Forms. It's built for a fast yes/no or pick-one question — not for open-ended feedback, which is better suited to a comment on a regular post.
Step 1 — Open Create and choose Poll
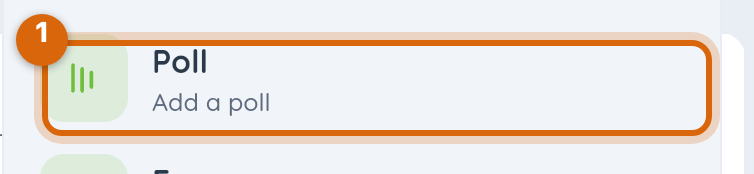
From your class, select Create, then Poll under Planning.
Step 2 — Choose your audience
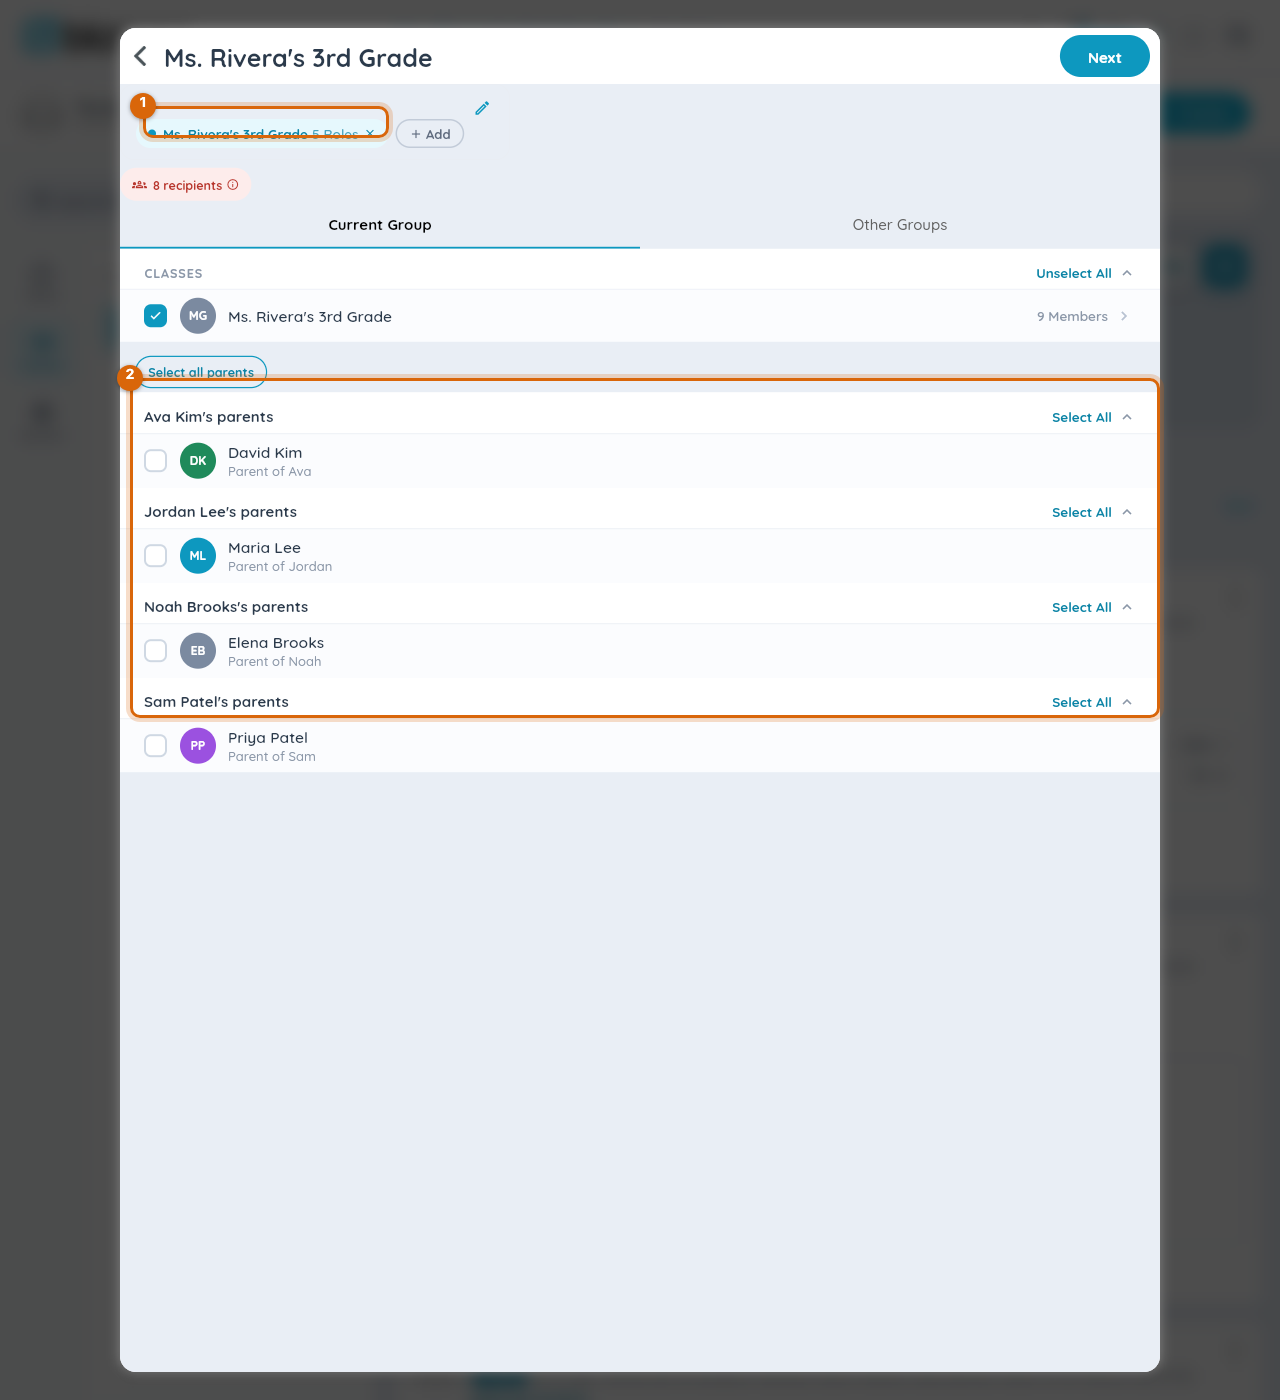
Poll opens straight into the recipient picker — pick who gets it the same way as any post: classes, roles, or individuals.
Step 3 — Write the question
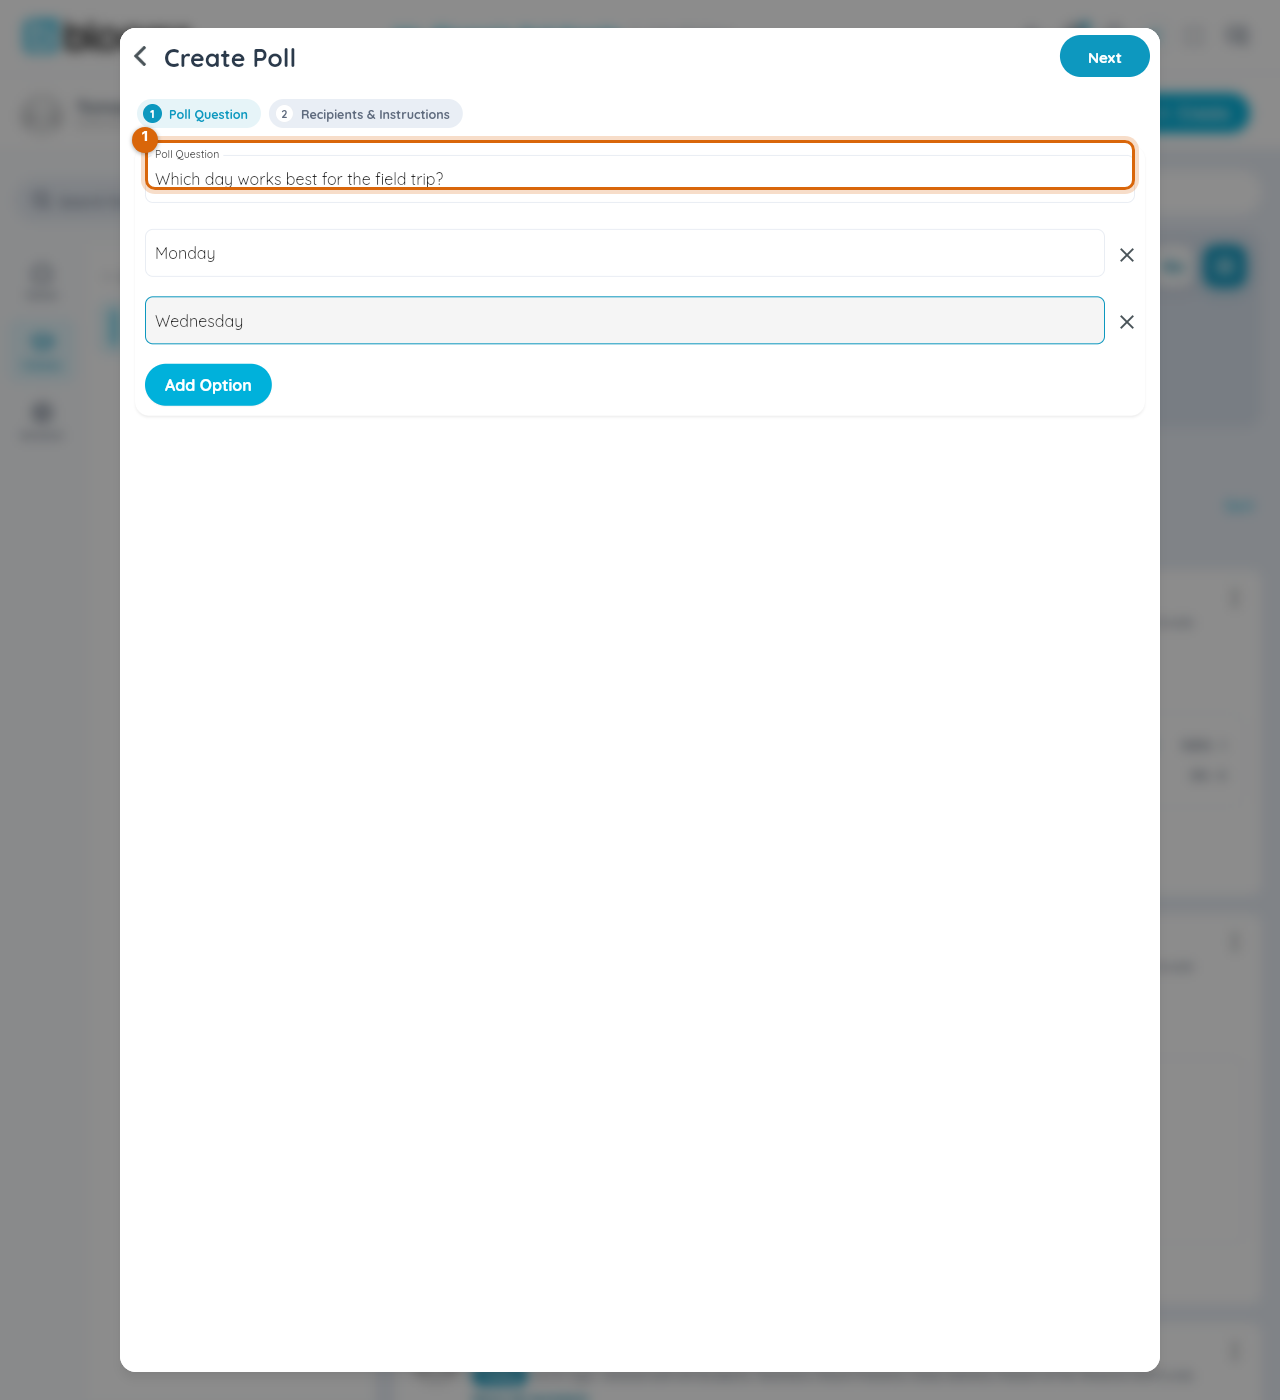
Choose Next to reach the Create Poll screen. Type your question in the Poll Question field — this is what recipients see at the top of the poll.
Step 4 — Add answer options
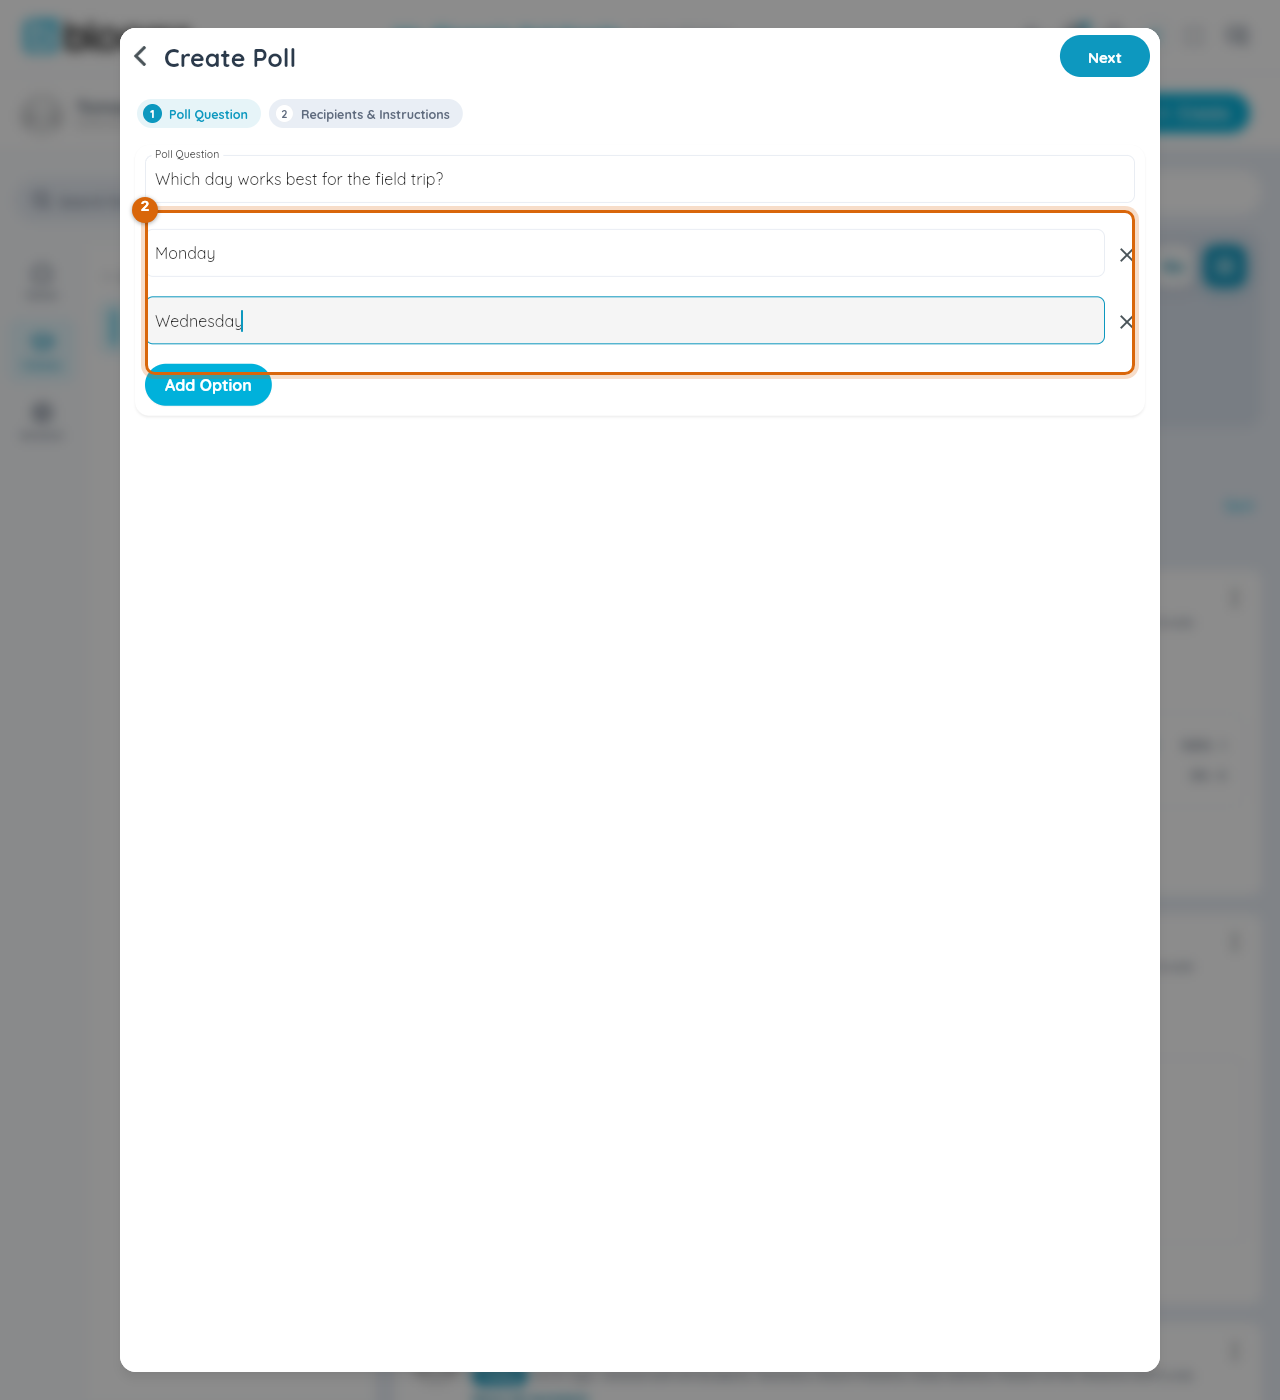
Add each answer option in its own row; use Add Option for more than the two you start with. Remove an option with its X if you don't need it.
Watch out: the second tab, Recipients & Instructions, has a required Instructions field below your recipients — it looks optional the way Title is explicitly marked "(optional)," but it isn't. Leaving it blank makes Send silently do nothing; type a line explaining the poll (even just "Please vote by Friday") before sending.
Step 5 — Send the poll
Choose Next to reach Recipients & Instructions, confirm the TO chip, add a line of instructions, then choose Send. The poll goes out to everyone you selected, each option ready to tap.
Step 6 — Watch the results come in
Open the poll from your feed or Sent history to see live results — a bar for each option that updates as votes arrive, and a total vote count.
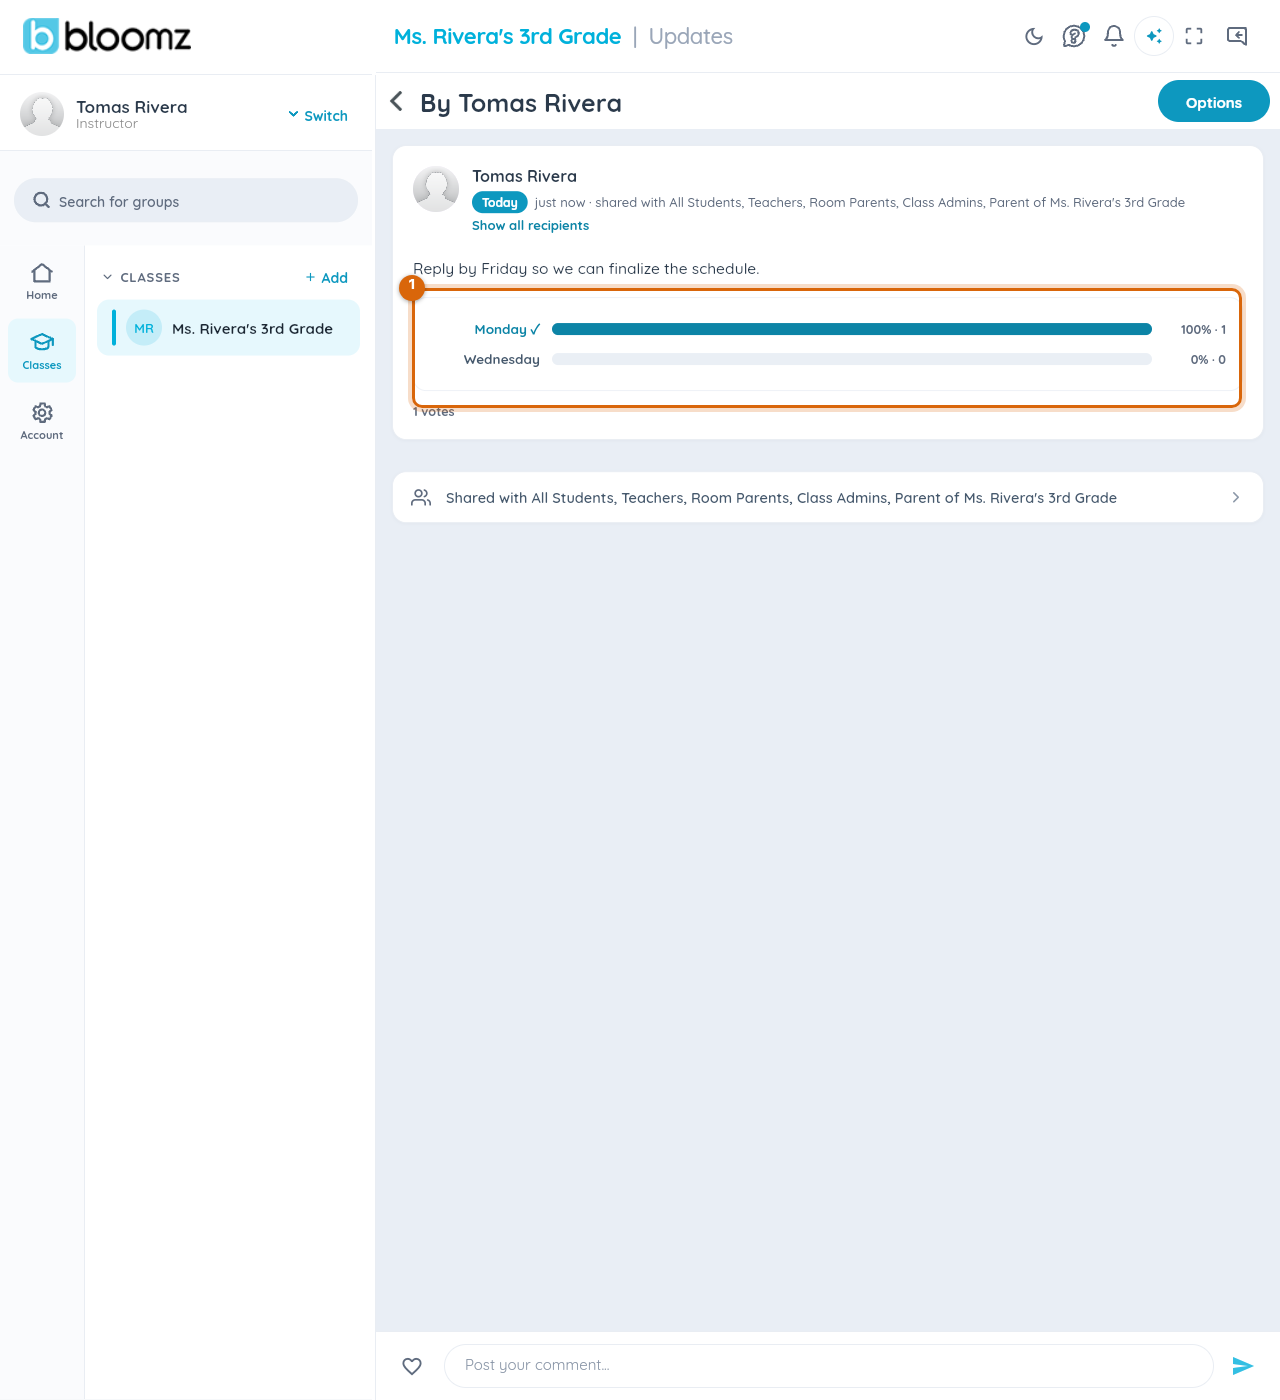
Watch out: each person gets one vote and can change it, but can't select more than one option at a time — a poll isn't a multi-select checklist.
What families see
Recipients see the question and options; tapping one submits their vote and reveals the live results to them too, unless you're mid-poll and results are still catching up.
Related
- Share an update with your class
- Pick exactly who gets a post (classes, roles, individuals)
- React and reply to posts