 Bloomz
Pick exactly who gets a post (classes, roles, individuals)
Not every post is for the whole class. The recipient picker lets you add another class or group, and hand-pick specific people alongside it — so a post can reach exactly who it needs to.
Before you start
The picker opens from the To field at the top of the composer, whenever you create a post or announcement. You always start from at least one class or group — the picker lets you add to that, it doesn't make you start over.
Step 1 — Open the recipient picker
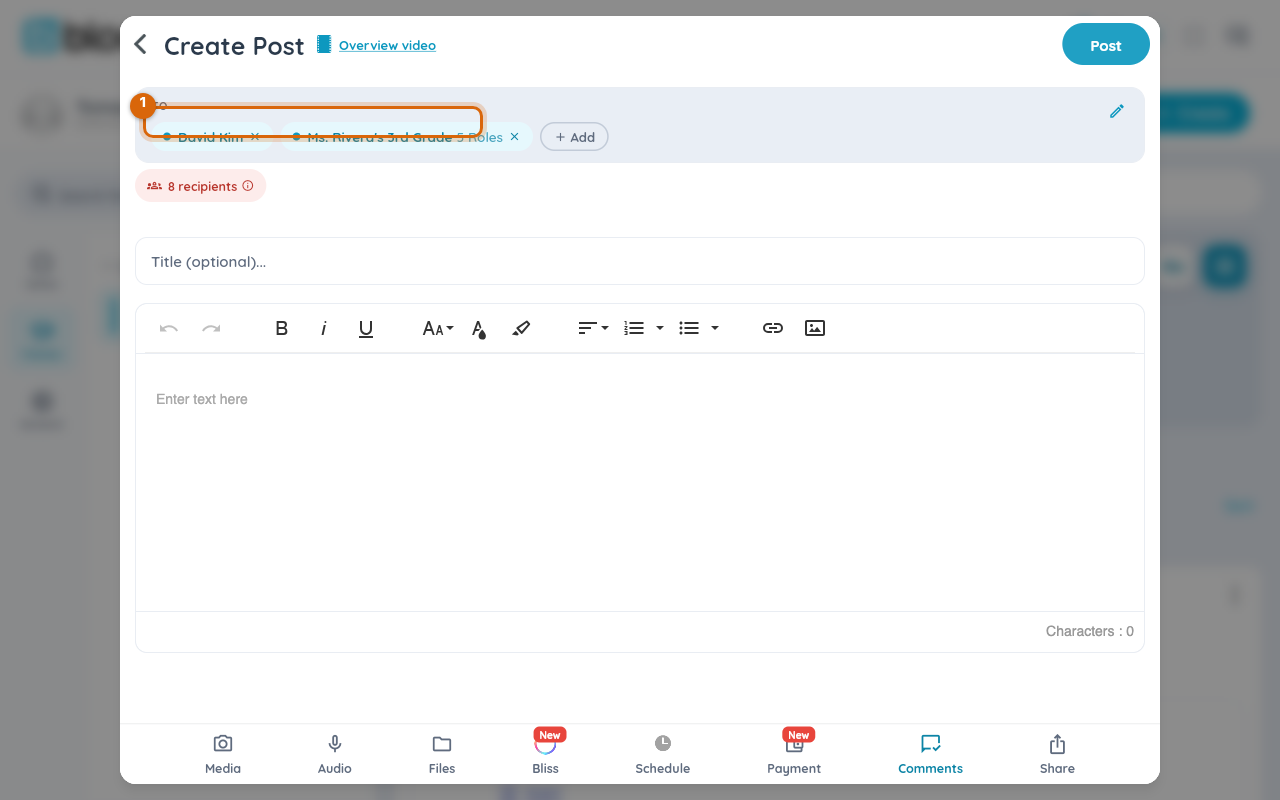
In the composer, tap the To field. The picker opens on a screen named for your class or group, showing your current selection as a chip — for example "Ms. Rivera's 3rd Grade · 5 Roles" — a live recipient count, and two tabs: Current Group and Other Groups.
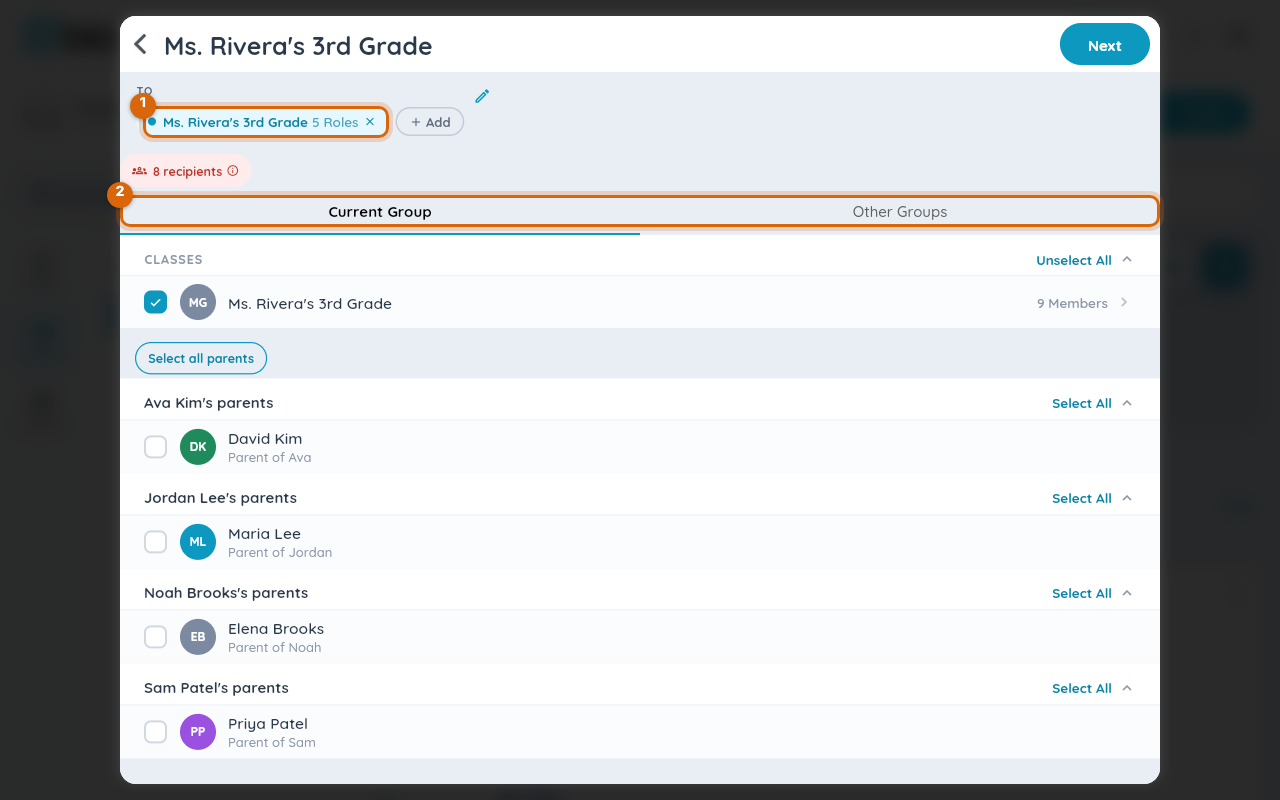
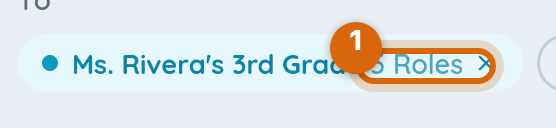
The "5 Roles" on the chip isn't something you pick — it's the class's built-in roles (room parents, students, teachers, and so on) that come along automatically with the class. To reach a different set of people, use the individuals list or the filter in the next article instead of hunting for a roles control that isn't here.
Step 2 — Add another class or group
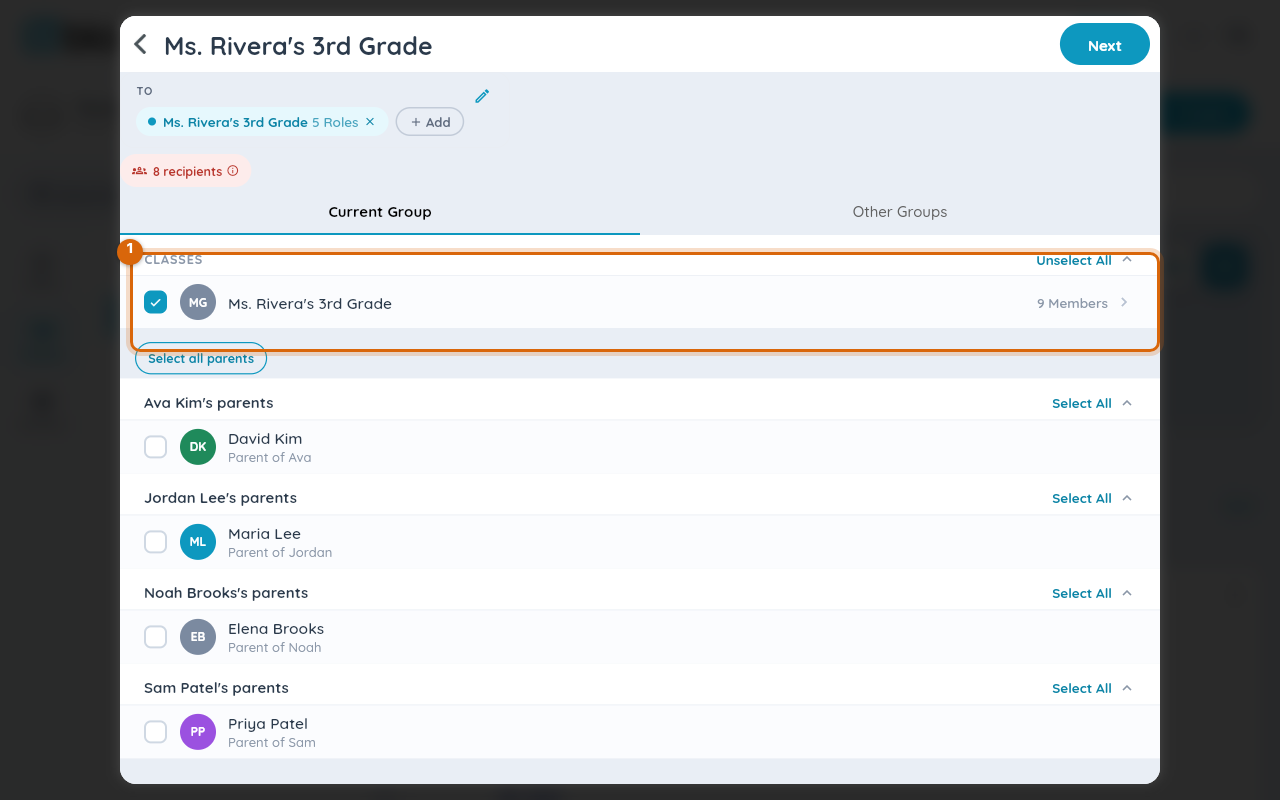
Under Current Group, the CLASSES section shows your class already ticked, with its member count and a Select all parents shortcut. To bring in a whole different class or group, switch to the Other Groups tab and tick it there — it's added alongside your current selection, not instead of it.
Step 3 — Hand-pick individuals
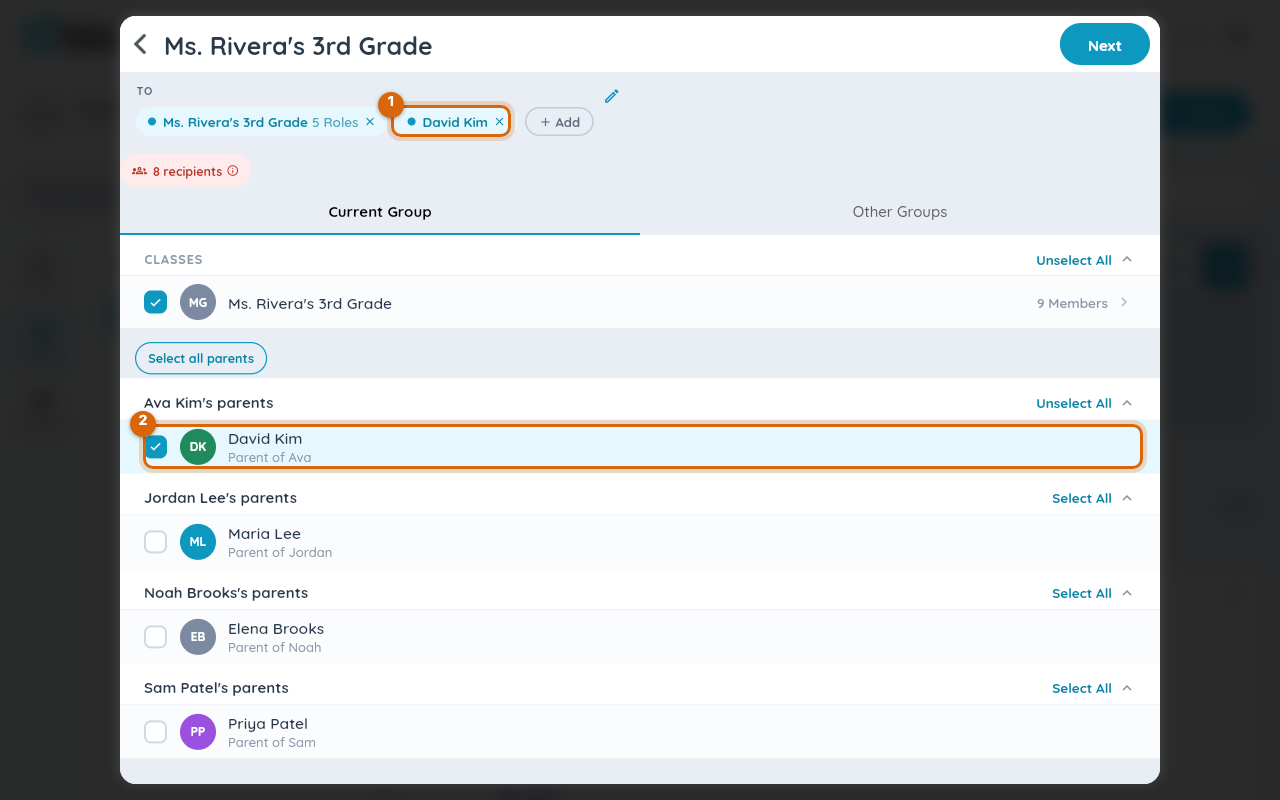
Below the class, people are listed individually, grouped by family — for example "Ava Kim's parents." Tick anyone you want to add by name. This is additive: ticking someone already covered by your class doesn't change the recipient count, but it does add its own chip to To so you can see exactly who you added.
Watch out: the picker's top-left back arrow discards anything you just picked on this screen. Next (top right) is what actually confirms your selection and returns you to the composer — use Next, not Back.
Step 4 — Confirm your audience
Tap Next. The composer now shows every chip you built — the class and any individuals — right where you opened the picker from, so you can double-check who's about to receive the post before you write it.
Related
- Share an update with your class
- Target families with a recipient filter (grade, language, …)
- Check how many people will see a post before you send