 Bloomz
Send a newsletter with the Studio editor
For a polished, periodic newsletter — not just a quick post — the Studio editor gives you a drag-and-drop block canvas: headers, images, buttons, and a background colour or image, laid out like a real document instead of a single feed card.
Before you start
Recipients and an optional title come first, exactly like a regular post — Studio is a second tab inside the same Newsletter composer, not a separate app.
Step 1 — Start a newsletter
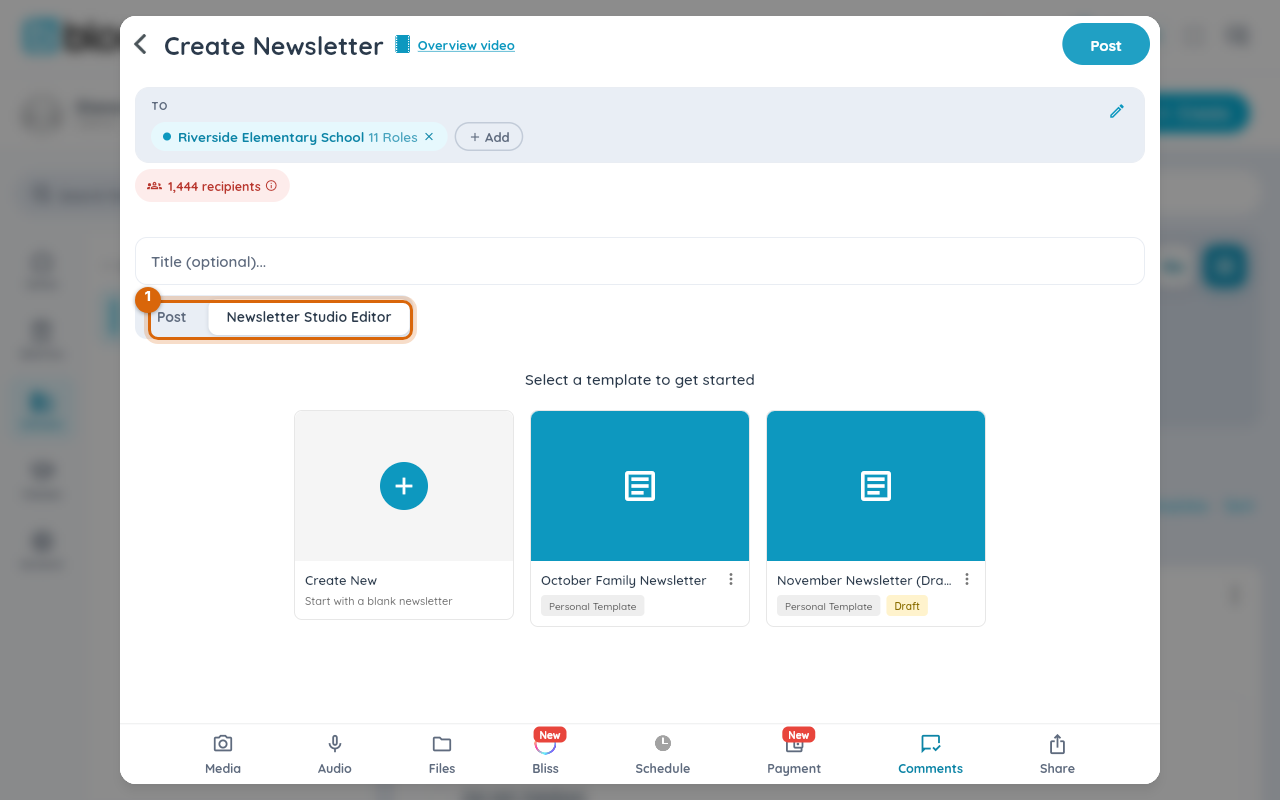
Select Create, then Newsletter. Pick your recipients as usual, and optionally give it a title. The composer opens two tabs: Post and Newsletter Studio Editor — Studio is selected by default.
Step 2 — Start from a template or a blank canvas
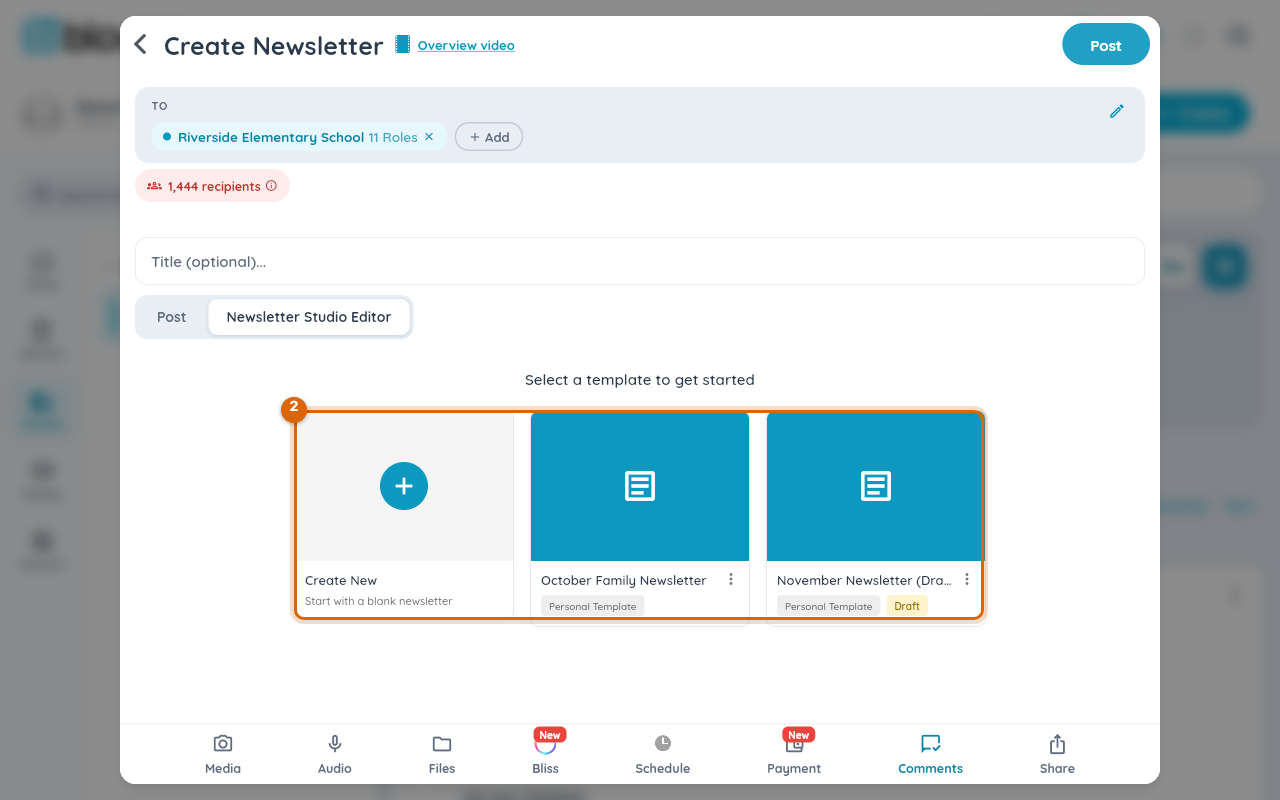
Pick Create New for a blank canvas, or one of your saved personal templates.
Step 3 — Add content blocks
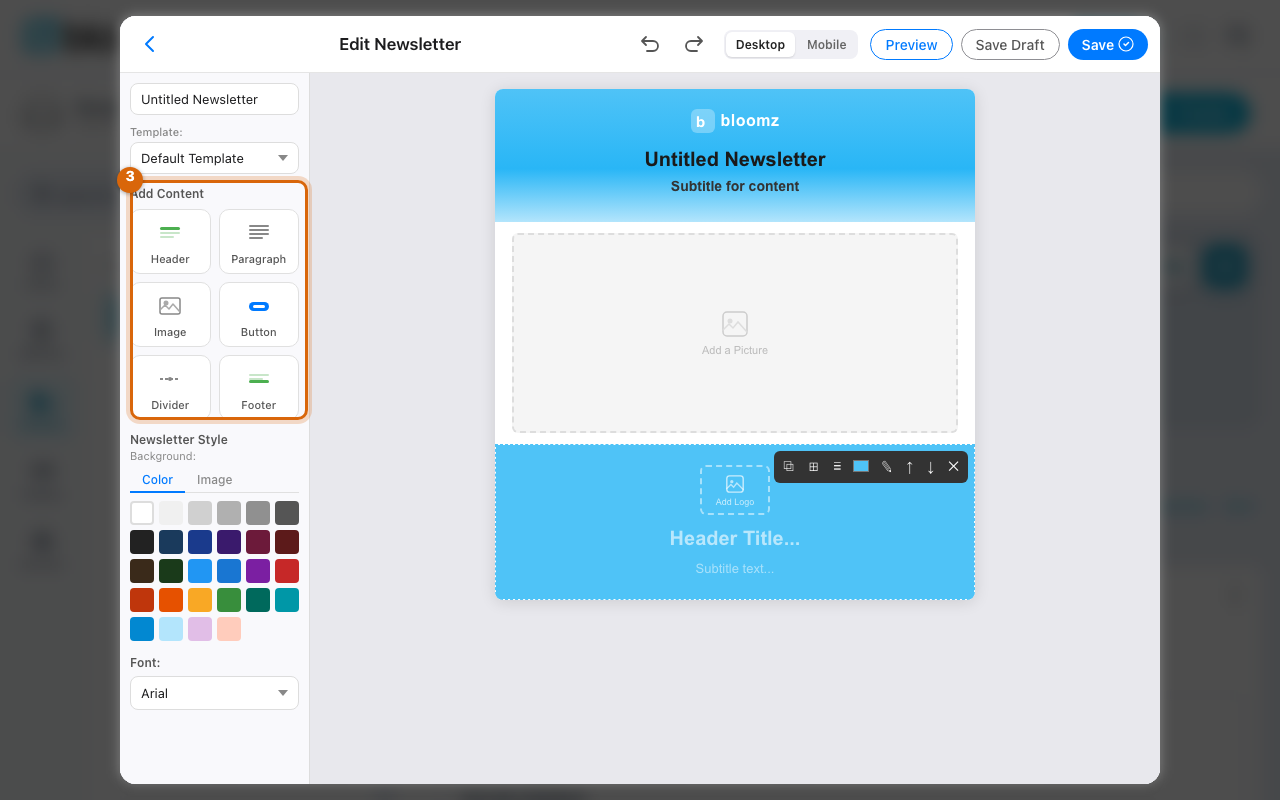
From Add Content on the left, add a Header, Paragraph, Image, Button, Divider, or Footer block — each tap adds it to the canvas, which you're editing directly (no separate drag step). Under Newsletter Style, set a background colour or image and a font for the whole newsletter.
Step 4 — Check the mobile layout
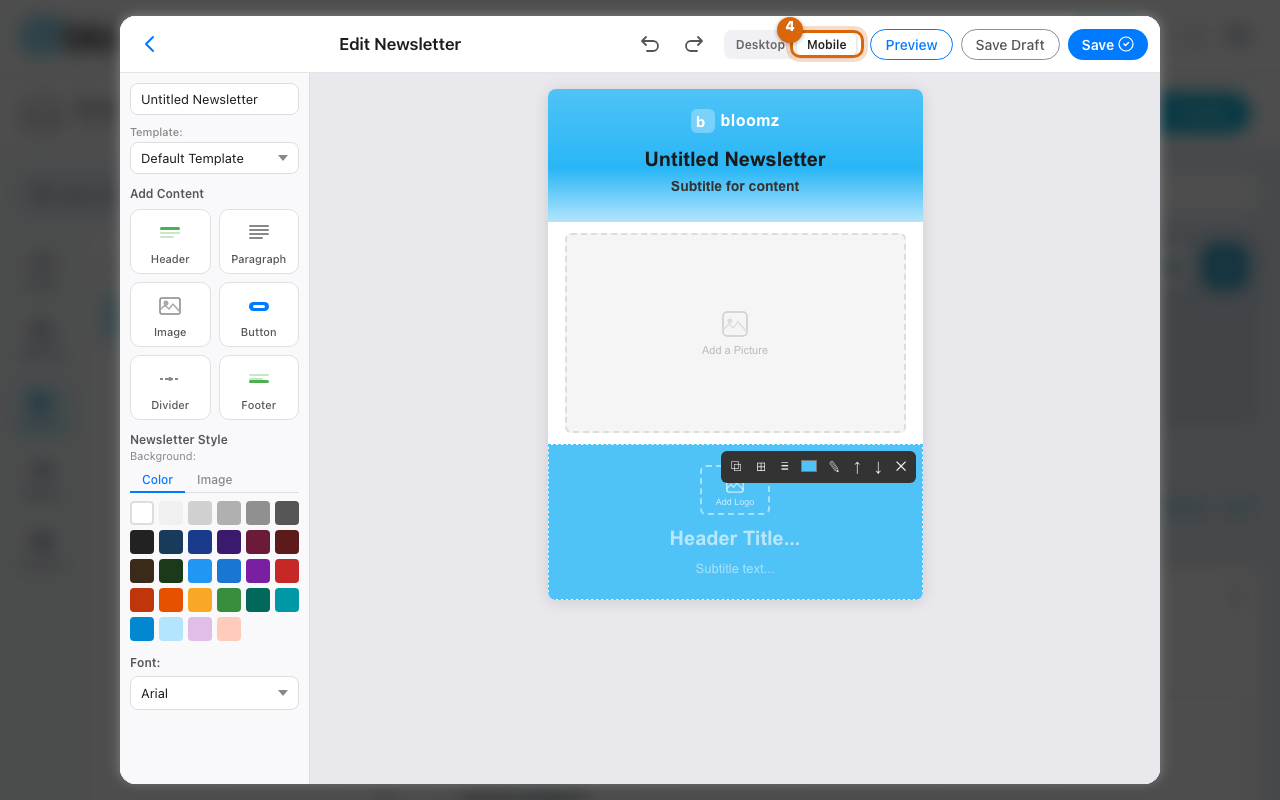
Switch Desktop / Mobile at the top to see how the same content reflows on a phone-width screen before you send.
Step 5 — Save and send
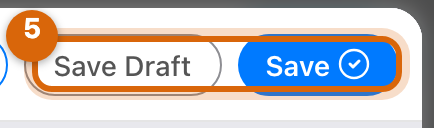
Select Save Draft to keep working later, or Save to finish editing and return to the composer, where Post sends it to your chosen recipients.
Related
- Pick exactly who gets a post (classes, roles, individuals)
- Schedule a post for later
- Check how many people will see a post before you send