 Bloomz
Let a student sign in with a QR code or access code
Give your class a QR code or a short text code so students can sign into their own Bloomz account by picking their name from the roster — no email, no password, no PIN. It is the fastest way to get a room of shared classroom tablets or laptops onto each student's own account.
Before you start
You need a teacher or admin role in the class, and the class must already have students enrolled. The code you generate is temporary and belongs to that one class only; it works whether or not your school has Invitations turned on for parents.
Step 1 — Open Add Student Roster
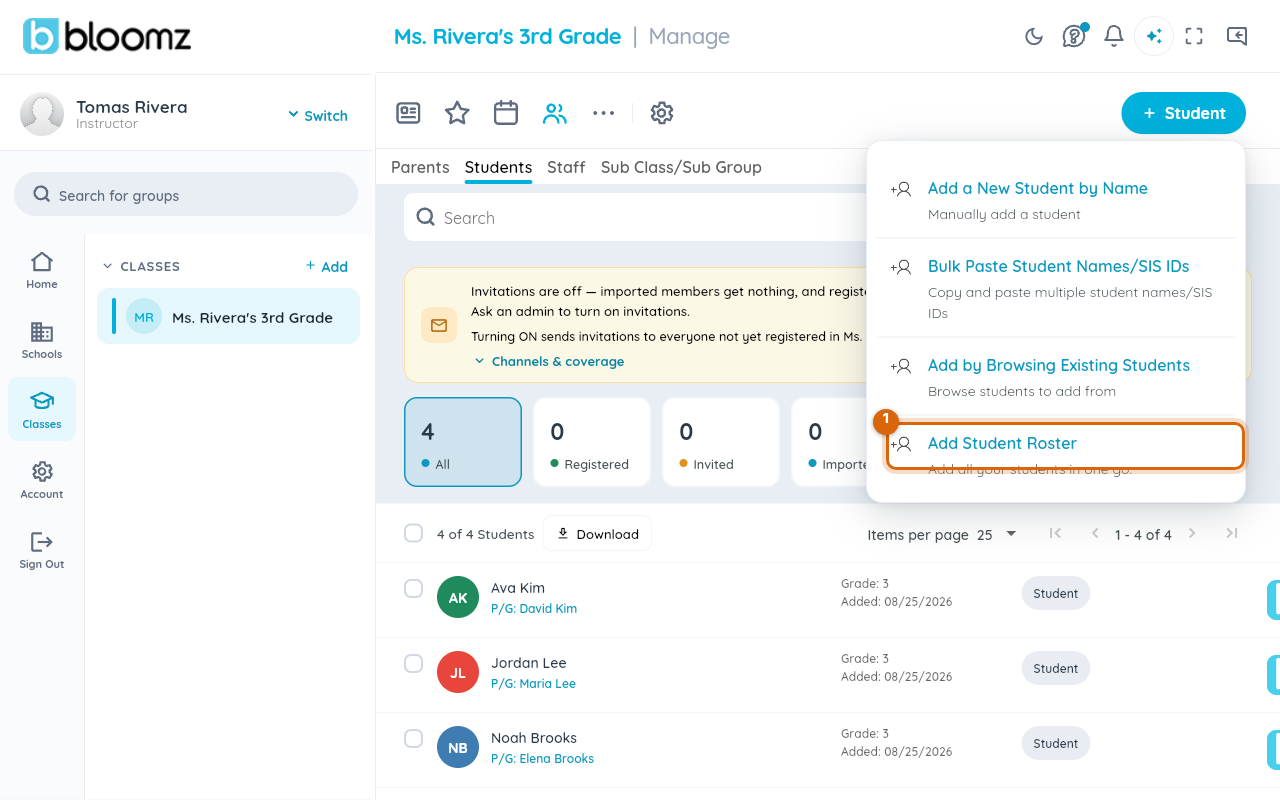
Open your class, select Manage, the Students tab, then + Student > Add Student Roster.
Step 2 — Skip past the roster
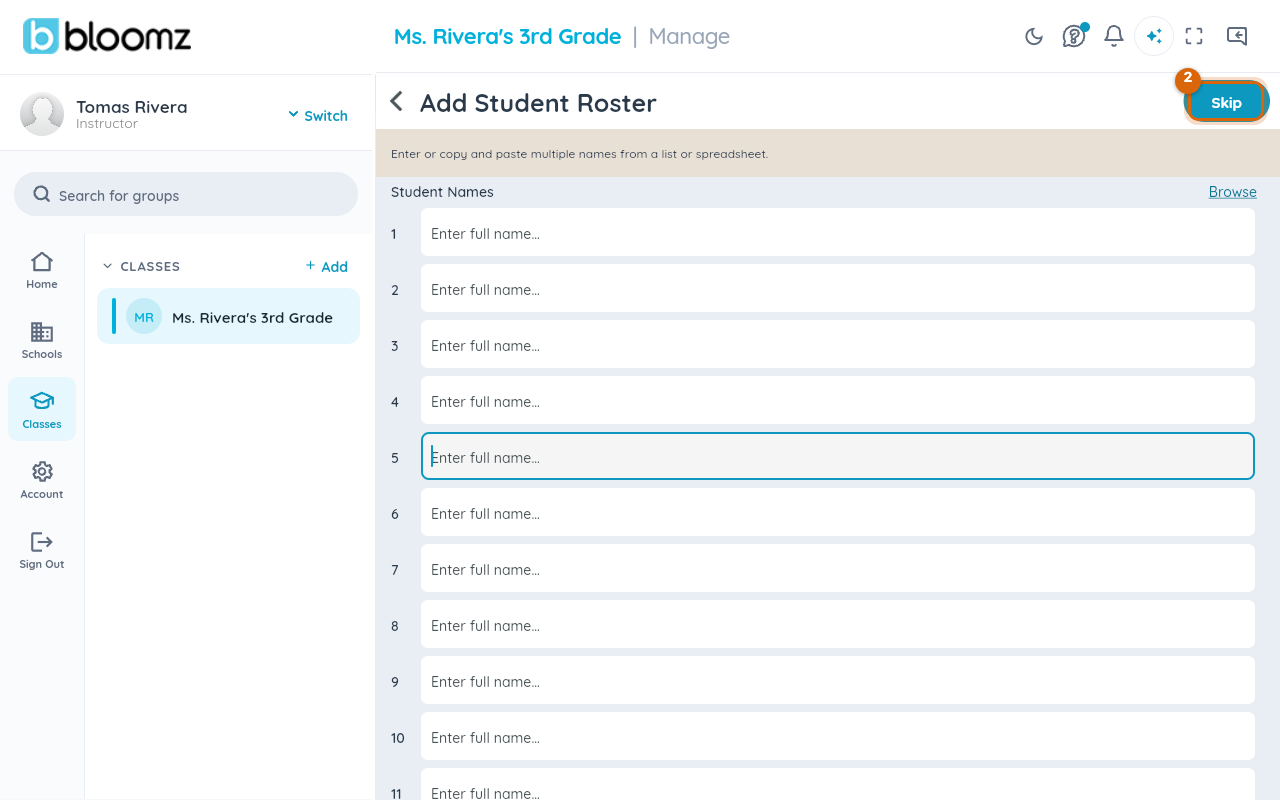
Your students are already enrolled, so there is nothing to type here — select Skip in the top corner.
Step 3 — Choose Student QR / access code
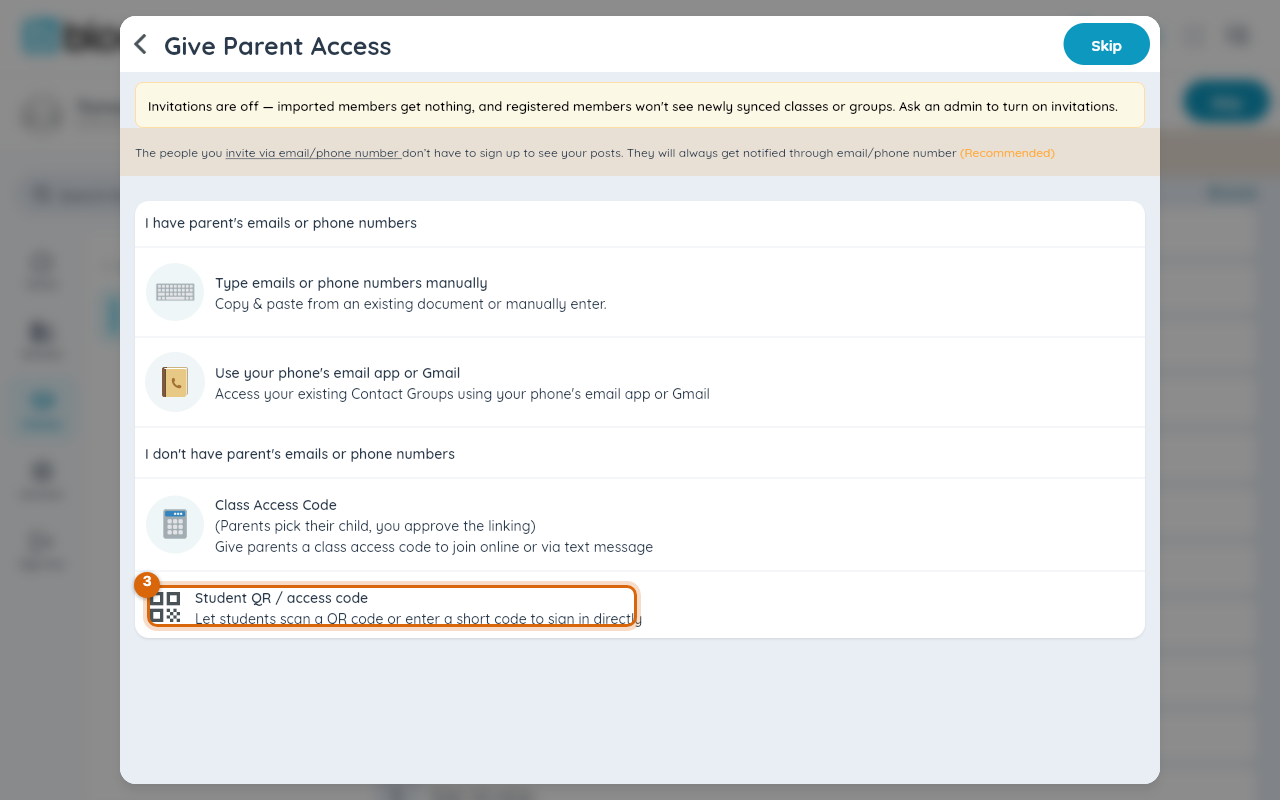
On the Give Parent Access screen, scroll to I don't have parent's emails or phone numbers and select Student QR / access code — the option below the class access code parents use.
Step 4 — Turn on the code
Select the Student Access tab (the Get QR code tab shows a printable QR instead, if your students will scan one on a device with a camera) and switch on Enable student code. A short code appears with a countdown until it expires.
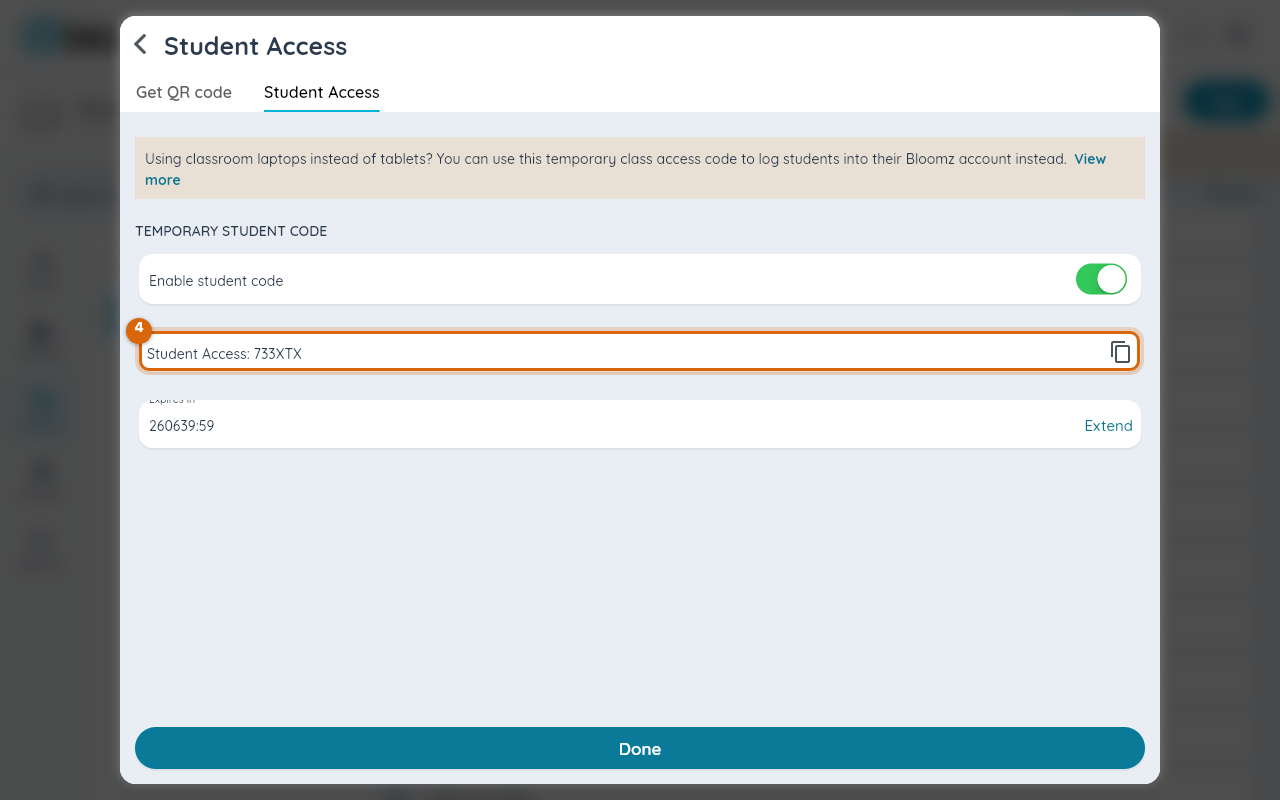
Watch out: the code is shared by the whole class, not one student — anyone who has it can open the class roster and pick any name on it. Only share it inside the room, and turn it back off (or let it expire) once everyone is signed in.
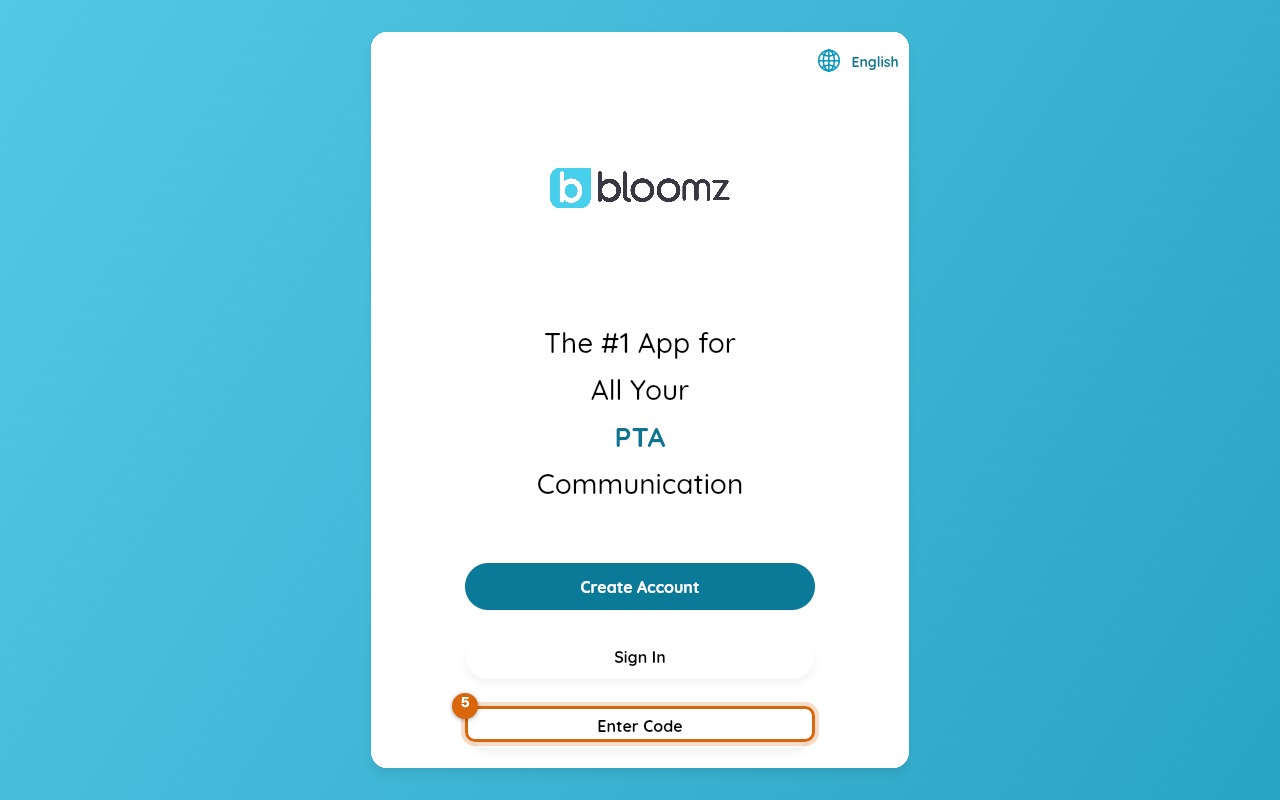
Step 5 — The student opens Enter Code
On the device the student is using, they open Bloomz and, from the signed-out welcome screen, select Enter Code (or Scan QR Code, if you gave them the QR instead).
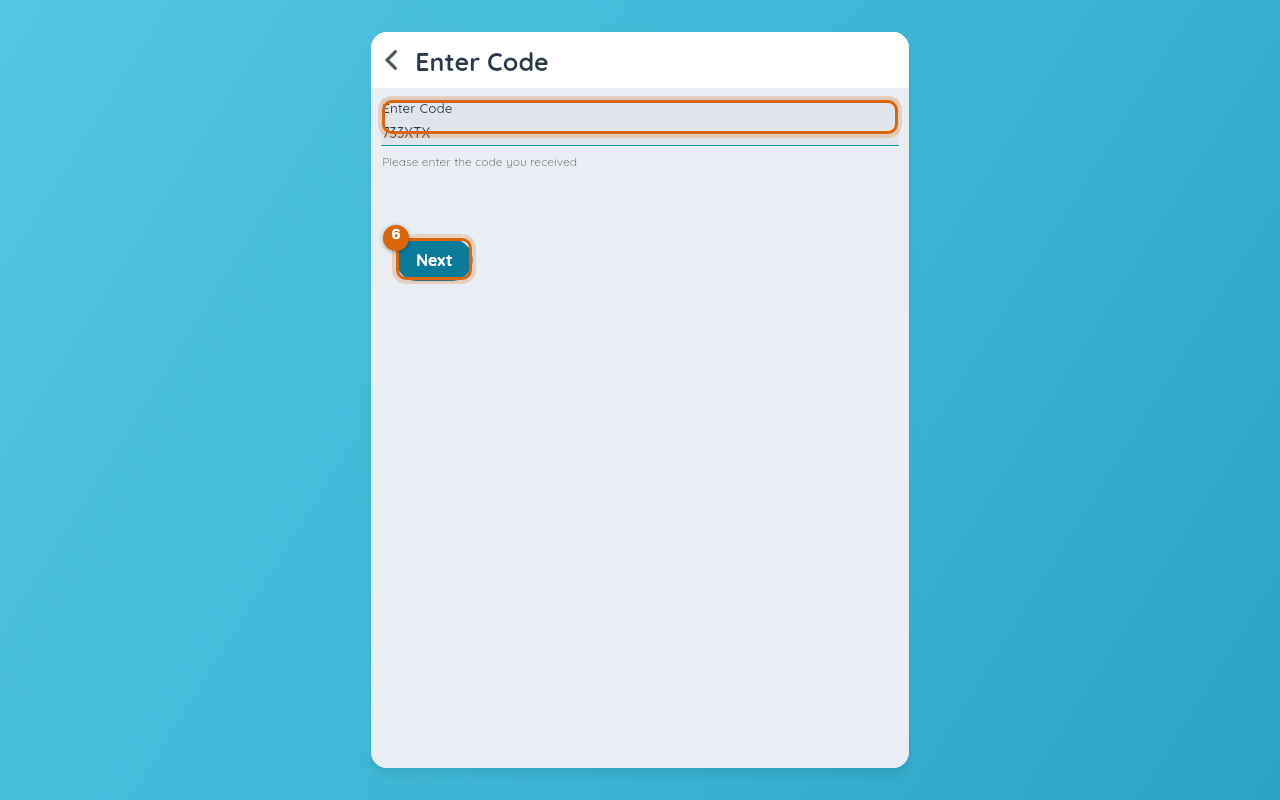
Step 6 — They type the code
They type the code you gave them and select Next.
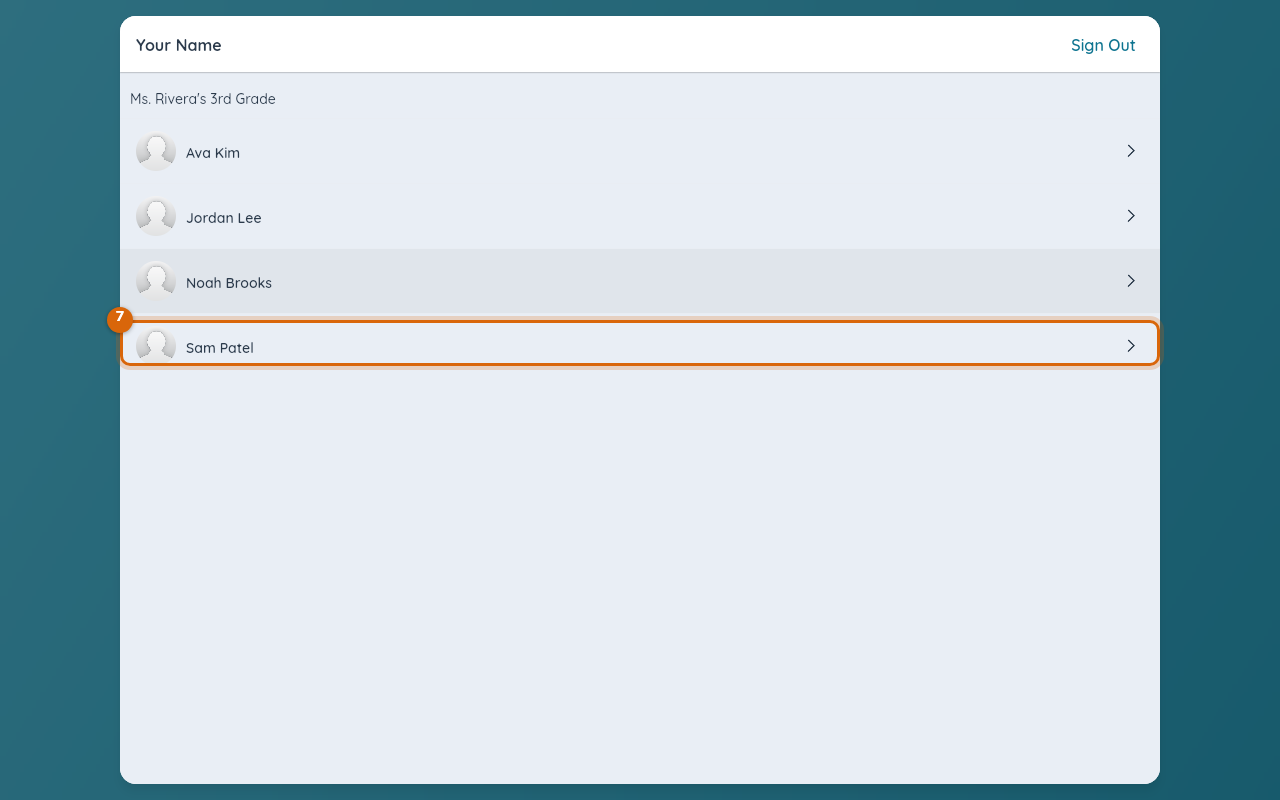
Step 7 — They pick their own name
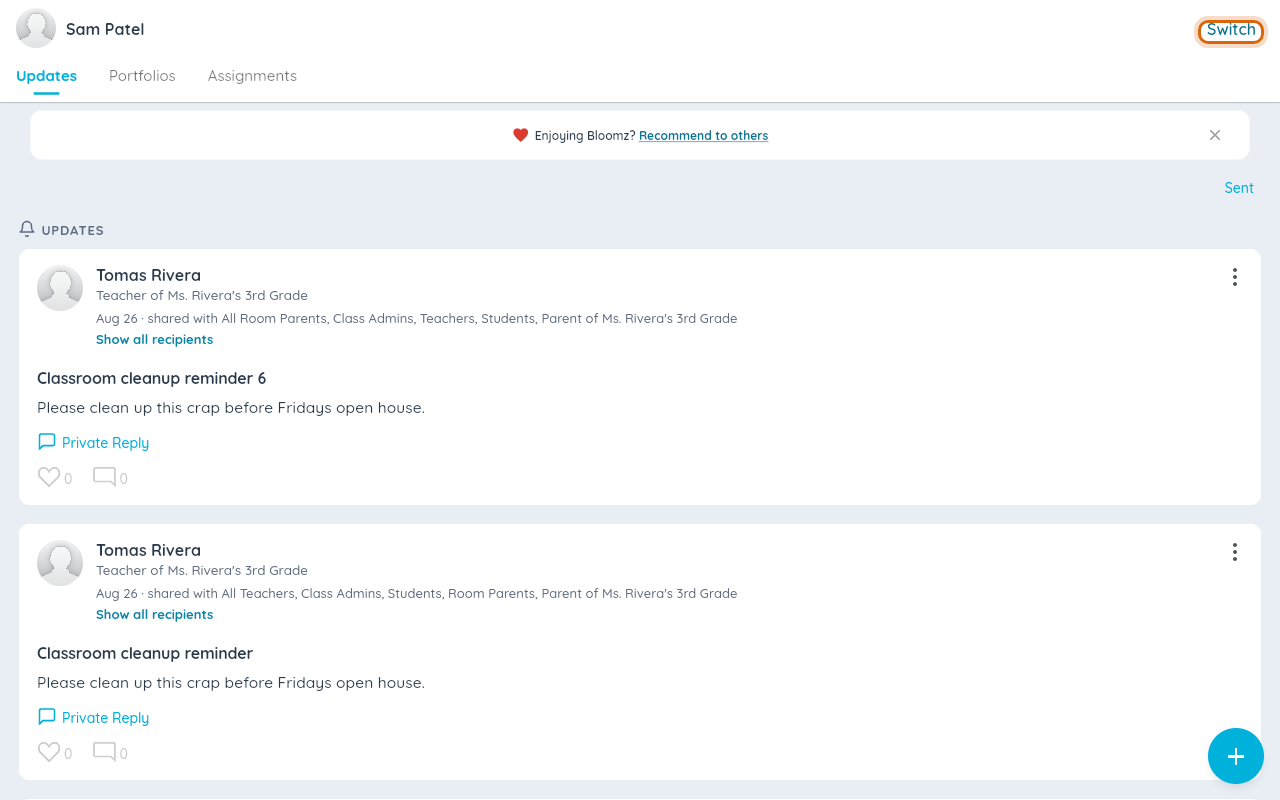
Your Name lists every student in the class. Selecting a name signs that student in immediately — straight to their own Updates feed, Portfolio and Assignments.
Related
- Join with a class code or QR code
- Switch between your children
- Sign in with Google, Apple or Microsoft